JIT Authentication
Components
- Zabbix Server
- The core monitoring system where authentication and user provisioning occur. The server must support SAML-based authentication and JIT provisioning, which involves configuring it to accept SAML assertions from Azure AD, mapping those attributes to Zabbix users, and automatically creating or updating user accounts as needed.
- Domain
- A registered domain (e.g., example.com) is required to host the Zabbix server and to configure relevant DNS records. The domain ensures proper routing, secure certificates (for HTTPS), and consistent user identity references during SAML exchanges between Azure AD and Zabbix.
- Azure AD Account
- Your Azure Active Directory instance acts as the Identity Provider (IdP). It stores user identities, groups, and roles, and handles authentication. Configuring an application in Azure AD allows it to issue SAML assertions to Zabbix, containing user details and group memberships for JIT provisioning.
- User Groups in Zabbix
- Once Azure AD provides user information via SAML, Zabbix can assign users to predefined user groups. User groups help organize users based on their roles or responsibilities, making it easier to apply permissions and manage access collectively. During provisioning, users may be auto-assigned to groups based on attributes or mapping rules defined in the SAML configuration.
- User Roles in Zabbix
- Once Azure AD provUser Roles in Zabbixides user information via SAML, Zabbix can assign users to predefined user groups. User groups help organize users based on their roles or responsibilities, making it easier to apply permissions and manage access collectively. During provisioning, users may be auto-assigned to groups based on attributes or mapping rules defined in the SAML configuration.
Prerequisites
- Zabbix Server
- Azure AD Account
- Domain
User Management
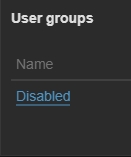
User Group
I need a default user group that users will be placed in upon their initial login.
To create a group I went to ➥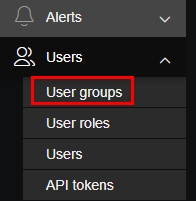
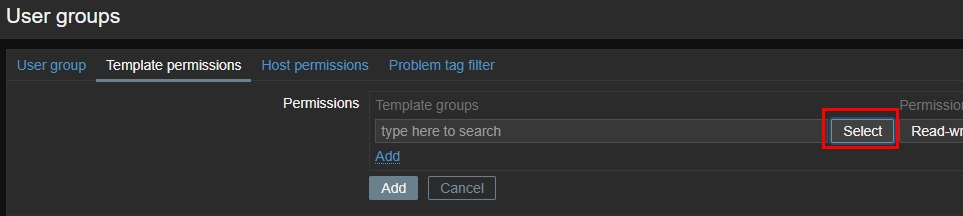
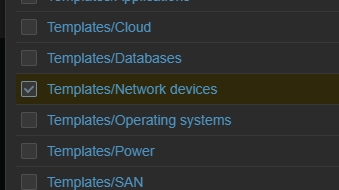
I then made a group for called Networking, who will have access to all network devices.

Group name: I named it ‘Networking’.Users: I don’t have users so I left it blank.Enabled: Made sure to enable the group.
User Role
I then needed to create a default role that will be given to users on their first sign-in.
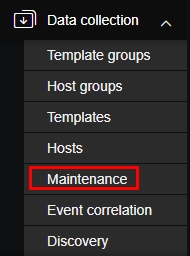
I went to ➥ .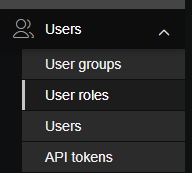
I made the following permission changes.
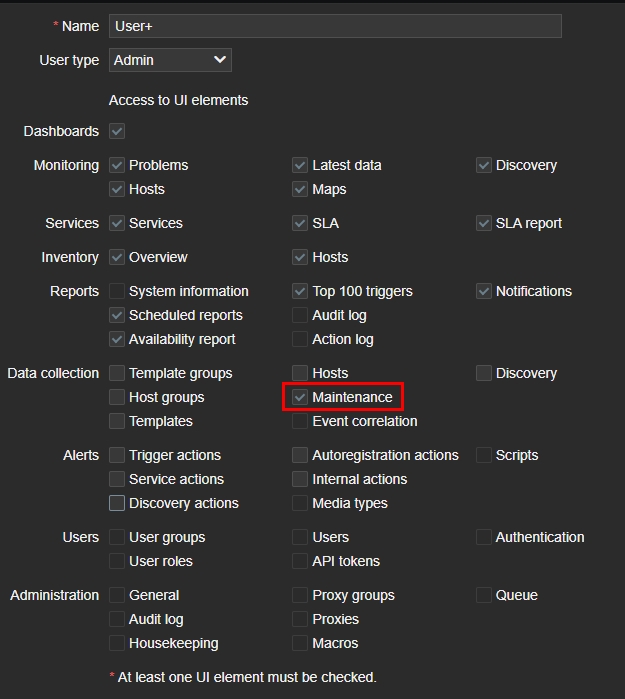
Name: User+, they will have a bit more access than a regular user.User type– Admin, otherwise it won’t let me make certain changes.Data collection– I deselected everything except Maintenace.

Azure AD
Security Group
I only wanted people assigned to a certain security group to have access to Zabbix.
First, I logged in to the Entra Identity portal and went to ➥ .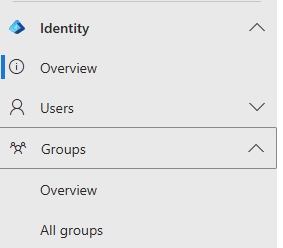

Group type– SecurityGroup name– Zabbix, so that it’s easily identifiable.Membership type– AssignedMembers– I then assigned some users to the group.
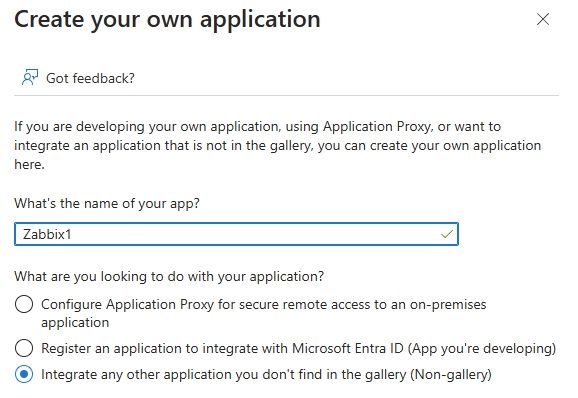
Application
I now needed to create the application and link it to my Zabbix domain.
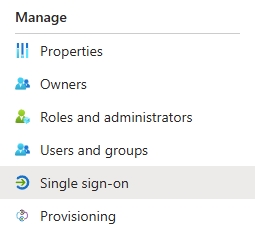
On the left-side menu I went to ➥ .
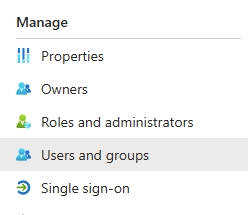
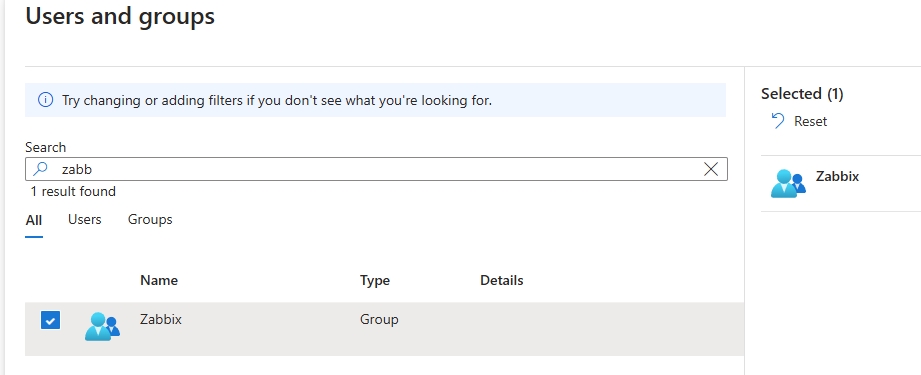
and added the Zabbix group I created earlier.
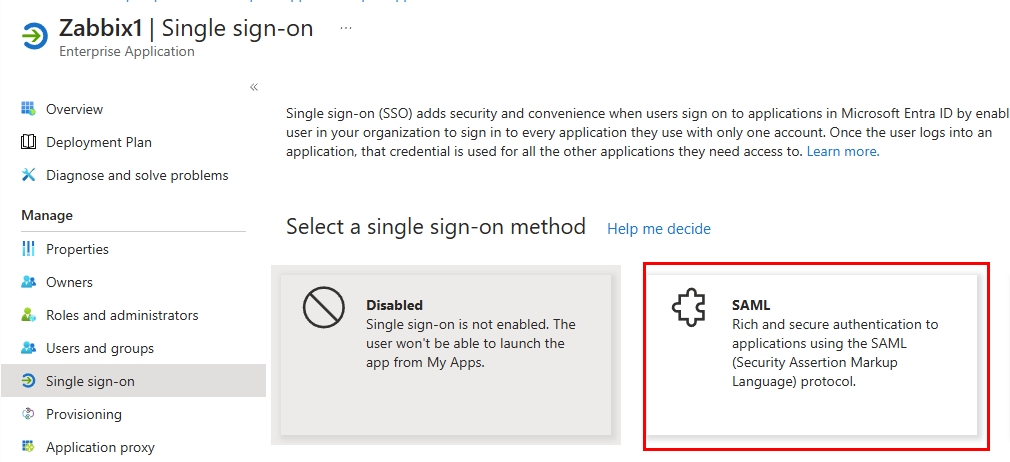
I select SAML as the sign-on method.
I fill out the Basic SAML Configuration.
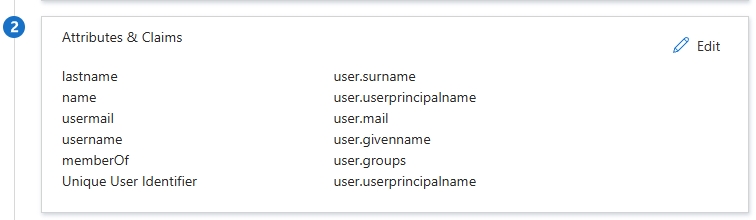
I then create the following Attributes & Claims.
Identifier– https://<domain>/zabbix/spReply URL– https://<domain>/index_sso.php?acs
The SAML Certificates section will be automatically populated. I just downloaded the certificate so that I can paste it’s contents into a new file within the Ubuntu server.

Zabbix Server
I then created the new file within my Zabbix servers (if you’re using high availability you’ll need to create the cert on all servers, but not the database server), and pasted the contents of the certificate file.
nano /usr/share/zabbix/conf/certs/idp.certThen I changed the cert’s permissions.
sudo chmod 644 /usr/share/zabbix/conf/certs/idp.certI then edited the zabbix-conf.php file.
sudo nano /usr/share/zabbix/conf/zabbix.conf.phpI added the following 2 lines at the bottom of the file.
$SSO['IDP_CERT']                = 'conf/certs/idp.cert';
$SSO['SETTINGS'] = ['strict' => false, 'baseurl' => "https://<domain>/", 'user_proxy_headers' => true];conf/certs/idp.cert– This string specifies the path to the IdP’s certificate. This certificate is essential for securely validating the signatures on SAML assertions or similar security tokens provided by the IdP during the SSO process.user_proxy_headers' => true– This setting allows the application to trust proxy headers, such asX-Forwarded-For, which are used to determine the client’s original IP address when the application is behind a proxy. This can be important for applications deployed in environments where load balancers or reverse proxies handle incoming traffic.
Next I edited the zabbix.conf file.
sudo nano /etc/nginx/conf.d/zabbix.confI changed the port to listen on 80, and I added the domain name.
server {
listen          80;
server_name     10.33.99.30 <domain>;
Then reloaded nginx.
sudo systemctl reload nginxZabbix Frontend
Now to setup the frontend so users can login with SSO.
First, I went to ➥ .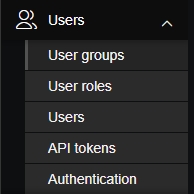
On the Authentication tab I have to select a deprovisioned users group or else it won’t let me setup SAML.

Onto the SAML settings tab.
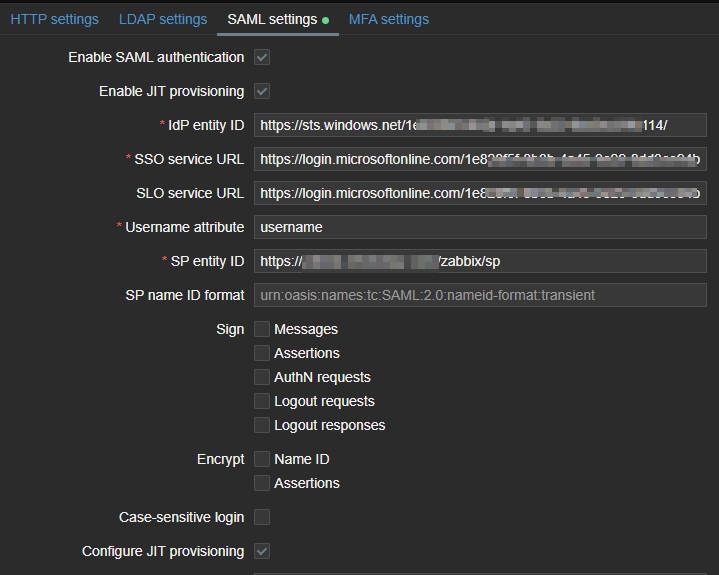
- I enabled SAML authentication.
- I enabled JIT provisioning
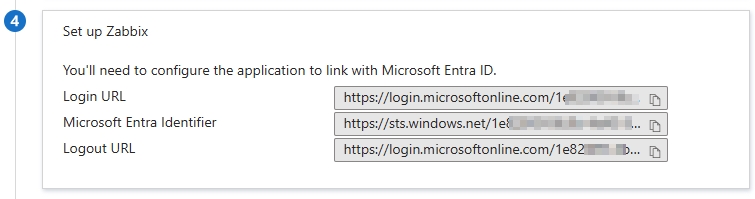
IdP entity ID– This is the ‘Microsoft Entra Identifier’.SSO service URL– This is the ‘Login URL’.SLO service URL– This is the ‘Logout URL’.Username attribute– This is the ‘Attributes & Claims’ I setup earlier, which is for user.givenname.SP name ID format– This is the ‘Identifier (Entity ID)’.- I enabled ‘Configure JIT provisioning’.
Then I scrolled down and configured the attributes.
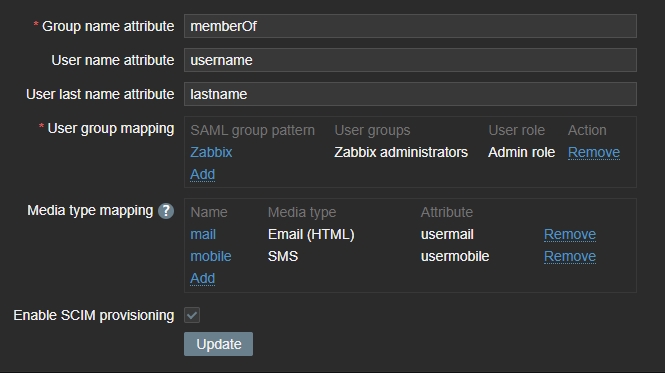
Group name attribute– The name has to match the user.groups attribute name.User name attribute– The name has to match the user.givenname attribute name.User last name attribute– The name has to match the user.surname attribute name.- User group mapping
SAML group pattern– The name has to match the security group name setup in Entra Identity.User groups– The group you want to assign them once they log into Zabbix.User role– The role they will be assigned when they log into Zabbix.
- I enabled SCIM provisioning.
Finally, users can sign in using their Microsoft credentials. If you have 2FA setup, it’ll prompt them for their 2FA code as well.