Table of Contents
LibreNMS is a powerful, open-source network monitoring tool that offers comprehensive visibility into network performance and health. It’s highly customizable, supports a wide range of devices, and provides real-time monitoring, alerting, and detailed reports. With its easy setup and robust community support, LibreNMS will help us proactively manage our network, quickly identify and resolve issues, and ensure optimal performance and reliability for our users
Screenshots
Virtualized on Proxmox
Operating System: Ubuntu 22.04
CPU: 2 cores
RAM: 4096MB
Storage: 100GB
IP: 10.33.99.85/24
LibreNMS Server
Initial Server Configuration
First, I created a new user that way I don’t have to login as ‘root‘.
adduser nesto
Then I gave that user ‘sudo‘ privileges.
usermod -aG sudo nesto
You can check which groups are assigned to that user by entering this command.
groups nesto
Then I updated packages.
apt-get update -y
And upgraded packages.
apt upgrade -y
I then rebooted the server to apply any updates that needed to be done after a restart.
shutdown -r now
Creating SSH Key
First I started Mobaxterm, and clicked on ‘Start local terminal‘.
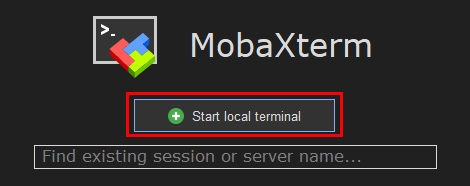
Then I created ssh keys with default settings, and saved it it in the default location.
ssh-keygen
Then copied the public key to the server.
ssh-copy-id nesto@10.33.99.85
Now I can SSH without needing to enter a password.
ssh nesto@10.33.99.85
PreRequisites
First I install the necessary packages for LibreNMS.
apt install acl curl fping git graphviz imagemagick mariadb-client mariadb-server mtr-tiny nginx-full nmap php-cli php-curl php-fpm php-gd php-gmp php-json php-mbstring php-mysql php-snmp php-xml php-zip rrdtool snmp snmpd unzip python3-pymysql python3-dotenv python3-redis python3-setuptools python3-systemd python3-pip whois traceroute
acl : Tools for Access Control Lists, which help define more fine-grained permissions on files and directories.
fping : A scriptable ping program for checking network connectivity.
graphviz : A package of open-source tools for creating diagrams and graphs.
mtr-tiny : A network diagnostic tool.
nmap : A network mapping tool.
whois : A utility for retrieving domain or IP address registration information.
traceroute : A network diagnostic tool for tracing the path that an IP packet takes to a destination.
Next I created a new user ‘librenms‘ for running the librenms service.
useradd librenms -d /opt/librenms -M -r -s "$(which bash)"
-d /opt/librenms : Specifies the home directory for the new user. Here, /opt/librenms is designated as the home directory, which is common for applications rather than personal user accounts.
-M : This option tells useradd not to create a home directory. This might seem contradictory to the -d option, but essentially, this setup indicates that the home directory should be /opt/librenms without actually creating it at the time of user creation.
-r : This creates a system account.
-s “$(which bash)” : Specifies the login shell for the user. $(which bash) executes the which command to find the path to the bash shell, ensuring that the user’s shell is set to Bash.
Then changed to the ‘opt‘ directory
cd /opt
Then I downloaded LibreNMS.
git clone https://github.com/librenms/librenms.git
I then changed the ownership of ‘/opt/librenms‘ to the ‘librenms‘ user I created earlier.
chown -R librenms:librenms /opt/librenms
Then gave that user full access to the directory.
chmod 771 /opt/librenms
I then set ACL permissions for the following directories.
setfacl -d -m g::rwx /opt/librenms/rrd /opt/librenms/logs /opt/librenms/bootstrap/cache/ /opt/librenms/storage/
setfacl : This is the command used to set (or modify) Access Control Lists (ACLs) on Linux systems.
-d : Specifies that the ACLs are to be set as default ACLs.
-m : Stands for “modify” and is used to modify the current ACL settings.
g::rwx : ACL entry specifies the permissions to be granted.
g : Indicates the entry is for the group class.
:: : The absence of a specific group name after the first colon means it applies to the effective rights mask for the owning group.
rwx : Grants read, write, and execute permissions.
Then I applied more ACL permissions to the files within those directories.
setfacl -R -m g::rwx /opt/librenms/rrd /opt/librenms/logs /opt/librenms/bootstrap/cache/ /opt/librenms/storage/
Install PHP
To install the php dependencies I changed to the ‘librenms‘ user.
su - librenms
Then installed.
./scripts/composer_wrapper.php install --no-dev
Then logged out from ‘librenms‘ user.
exit
Setting Timezone
Next, I changed the timezone in 3 locations.
The first location I edited using nano.
nano /etc/php/8.1/fpm/php.ini
Then used ‘ctrl+W‘ to search for ‘date.time‘, and uncommented ‘#date.timezone =‘ and added ‘America/Chicago‘.
					[Date]
; Defines the default timezone used by the date functions
; https://php.net/date.timezone
date.timezone = America/Chicago
I then did the same for the following file.
nano /etc/php/8.1/cli/php.ini
Then changed the system timezone.
timedatectl set-timezone America/Chicago
Configure MariaDB
I need to add 2 lines to the following file.
sudo nano /etc/mysql/mariadb.conf.d/50-server.cnf
Under the [mysqld] section I pasted the following, and saved the file.
					innodb_file_per_table=1
lower_case_table_names=0
Then I made mariadb automatically start on server reboots.
systemctl enable mariadb
Then I restarted the service.
systemctl restart mariadb
Then I started the MySQL client and logged in as ‘root‘
mysql -u root
I then created a database.
CREATE DATABASE librenms CHARACTER SET utf8mb4 COLLATE utf8mb4_unicode_ci;
I then created a new user for that database.
CREATE USER 'librenms'@'localhost' IDENTIFIED BY 'password';
I then granted that user all access rights to that database.
GRANT ALL PRIVILEGES ON librenms.* TO 'librenms'@'localhost';
Then exited.
exit
Configure PHP-FPM
First I copied the PHP-FPM pool configuration file, and renamed it as librenms.conf.
cp /etc/php/8.1/fpm/pool.d/www.conf /etc/php/8.1/fpm/pool.d/librenms.conf
Then edited the newly copied file.
sudo nano /etc/php/8.1/fpm/pool.d/librenms.conf
Then changed [www] to [librenms].
[librenms]
Also changed www-data to librenms.
					user = librenms
group = librenms
Then changed the ‘listen‘ path to the following:
listen = /run/php-fpm-librenms.sock
Configure Web Server
First, I need to edit the librenms.conf file.
sudo nano /etc/nginx/conf.d/librenms.conf
I then added the following, changing the server name to the one I’ll be setting up later.
					server {
 listen      80;
 server_name librenms.nestodiaz.com;
 root        /opt/librenms/html;
 index       index.php;

 charset utf-8;
 gzip on;
 gzip_types text/css application/javascript text/javascript application/x-javascript image/svg+xml text/plain text/xsd text/xsl text/xml image/x-icon;
 location / {
  try_files $uri $uri/ /index.php?$query_string;
 }
 location ~ [^/]\.php(/|$) {
  fastcgi_pass unix:/run/php-fpm-librenms.sock;
  fastcgi_split_path_info ^(.+\.php)(/.+)$;
  include fastcgi.conf;
 }
 location ~ /\.(?!well-known).* {
  deny all;
 }
}
Then remove the default site.
rm /etc/nginx/sites-enabled/default
Restarted nginx
systemctl restart nginx
Restarted PHP-FPM.
systemctl restart php8.1-fpm
Enable LNMS command completion
First I created a link from /opt/librenms/lnms to /usr/bin/lnms.
ln -s /opt/librenms/lnms /usr/bin/lnms
Then copied a bash completion script from the LibreNMS installation directory to the ‘bash_completion.d‘ directory.
cp /opt/librenms/misc/lnms-completion.bash /etc/bash_completion.d/
Enable Self Monitoring
First I copied the snmpd.conf file to /etc/snmp/snmpd.conf.
cp /opt/librenms/snmpd.conf.example /etc/snmp/snmpd.conf
Then edited the file and replaced ‘RANDOMSTRINGGOESHERE’ with my own community string.
sudo nano /etc/snmp/snmpd.conf
I then downloaded the distro script.
curl -o /usr/bin/distro https://raw.githubusercontent.com/librenms/librenms-agent/master/snmp/distro
Then made the script executable.
chmod +x /usr/bin/distro
Then made it so it automatically starts during a reboot.
systemctl enable snmpd
Then restarted the service.
systemctl restart snmpd
Enable Scheduler
First I copied two files from the LibreNMS distribution directory to the system’s ‘systemd’ service directory.
cp /opt/librenms/dist/librenms-scheduler.service /opt/librenms/dist/librenms-scheduler.timer /etc/systemd/system/
I also enabled this service to automatically start upon boot.
systemctl enable librenms-scheduler.timer
Then started the service.
systemctl start librenms-scheduler.timer
Web Installer
Accessing IP
Now I can go to my server’s IP address, or the domain name I setup.
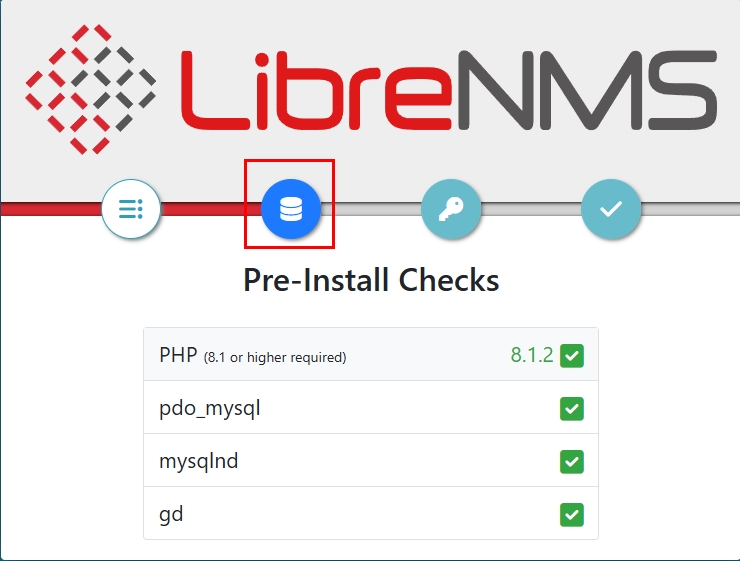
For now I used the IP address of http://10.33.99.85/install
Click on the icons to move forward.
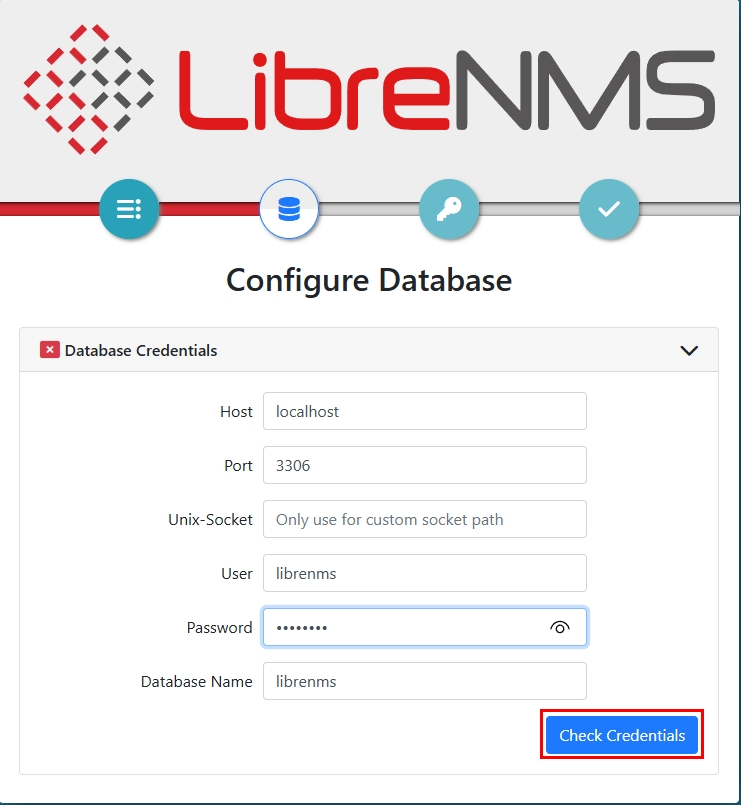
Entered the password I setup earlier and clicked ‘Check Credentials‘.
After entering the correct password it will go to the next part where you click on ‘Build Database‘.
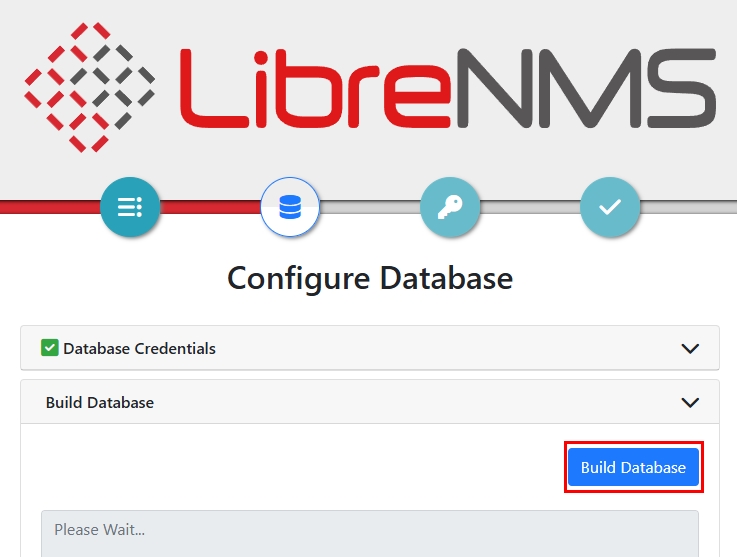
If there’s no errors, you can click on the next icon.
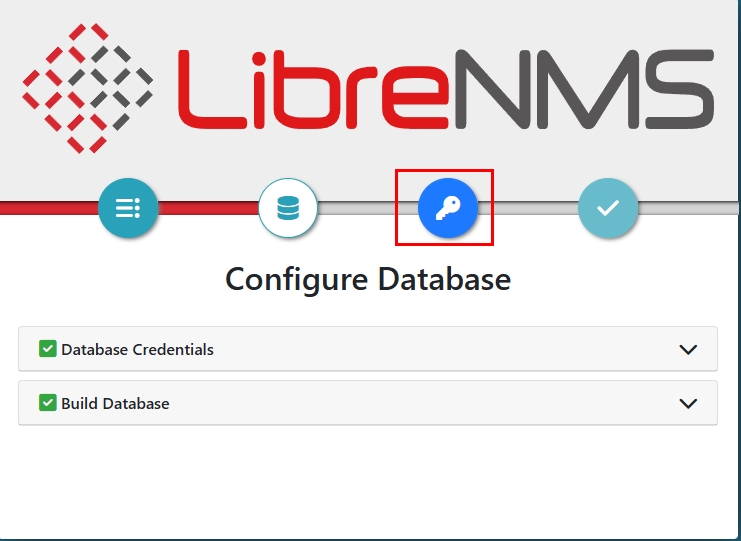
I then created the admin account.
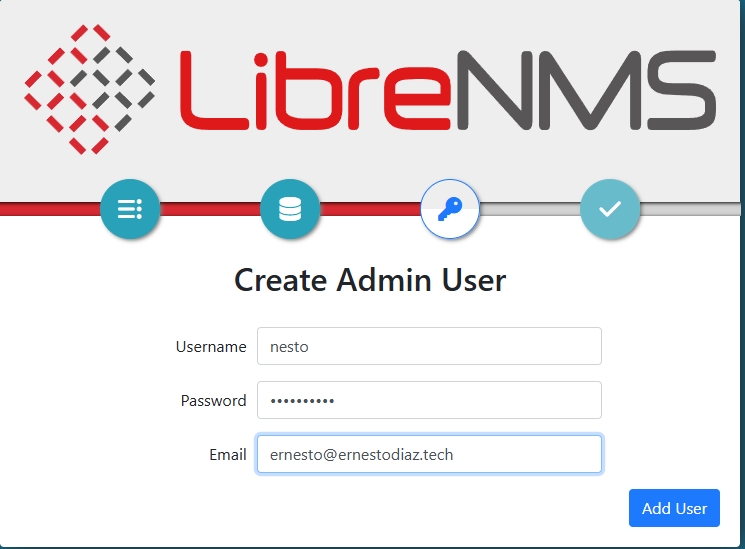
Again, if everything goes with no errors then click on the last icon.
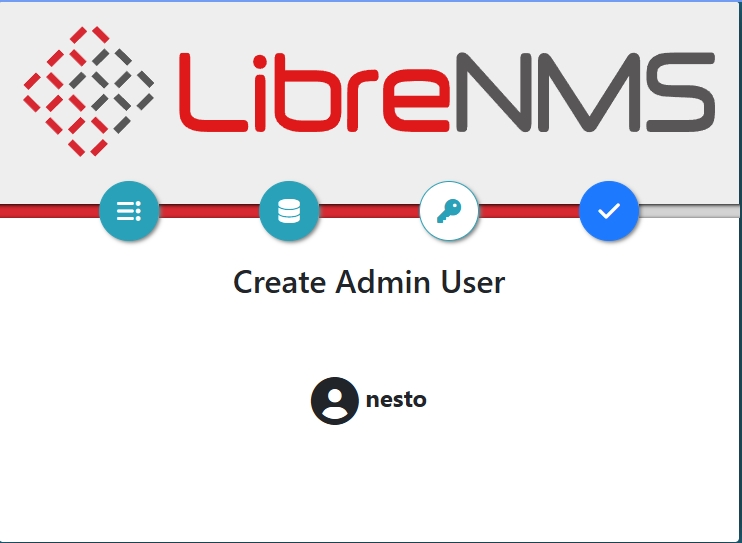
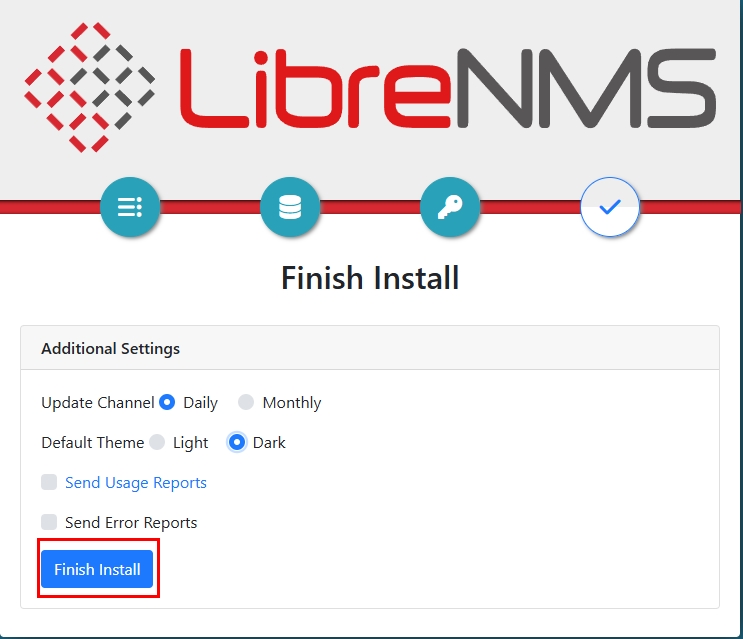
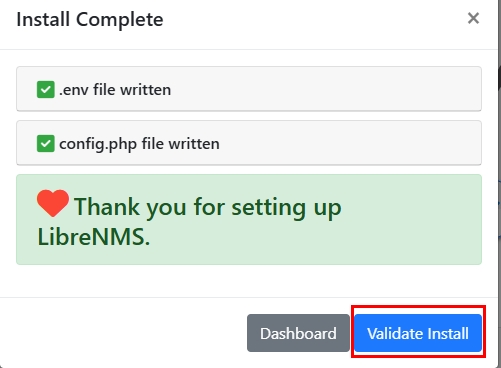
Clicked on ‘Finish Install‘
Validate Install
First I clicked on ‘Validate Install‘
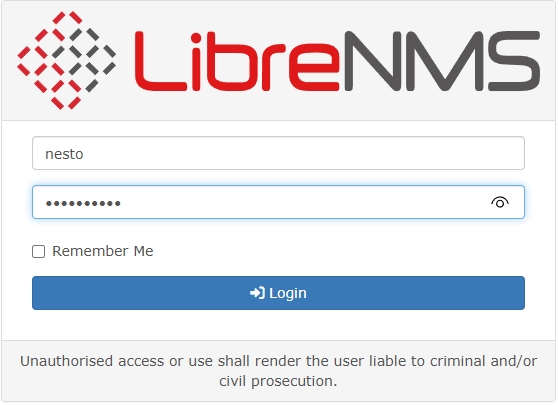
Logged in with the admin account I setup.
I looked for any errors and clicked on any of these to automatically fix the problem. Then refreshed the webpage.
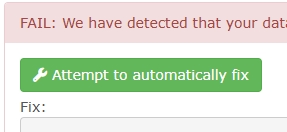
I had an error that needed to be fixed through the cli. I then refreshed the page after running the command.

There will be an error about ‘cron jobs’ but I won’t be using that service so I will ignore that one.
