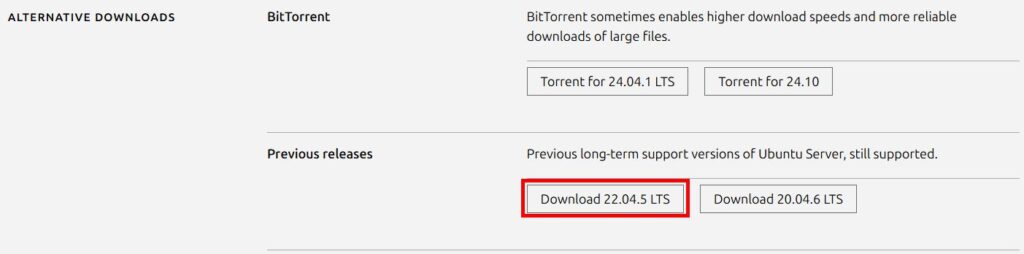
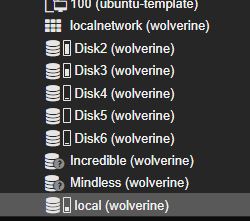
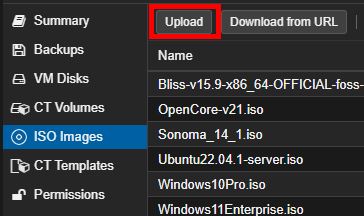
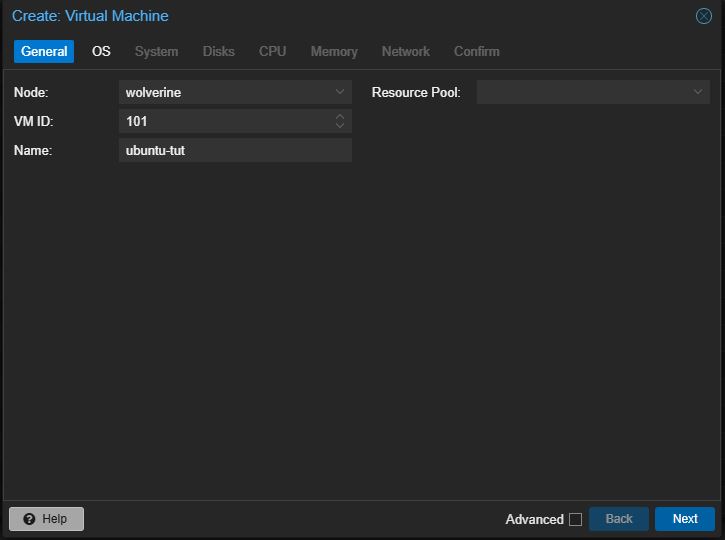
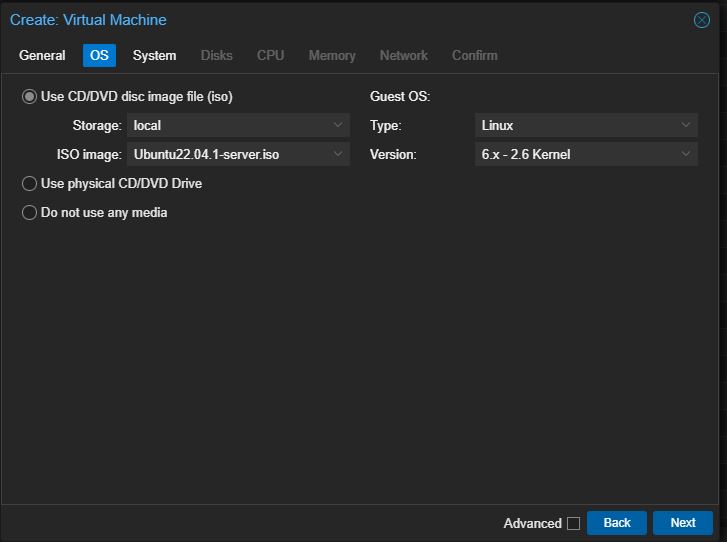
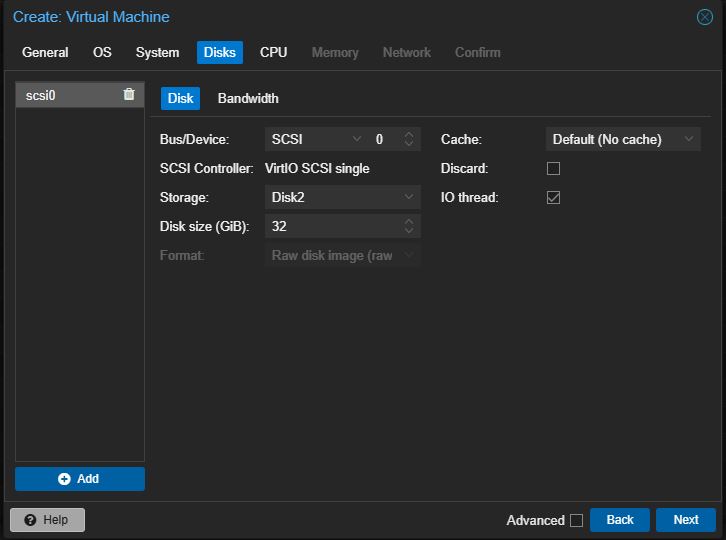
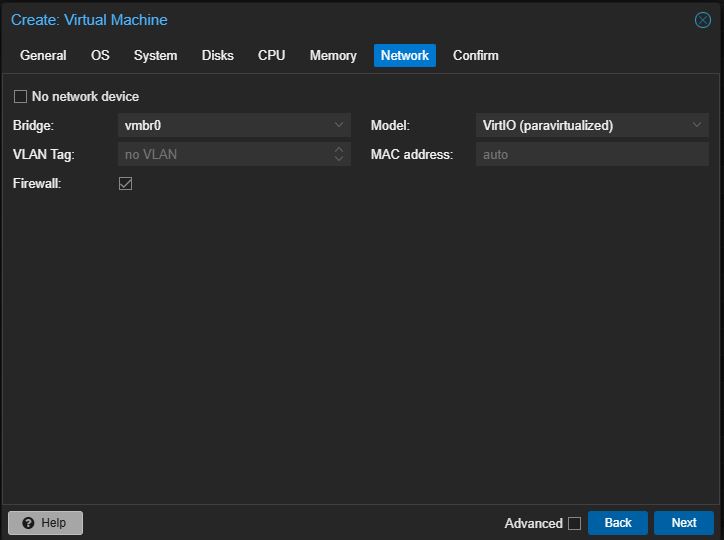
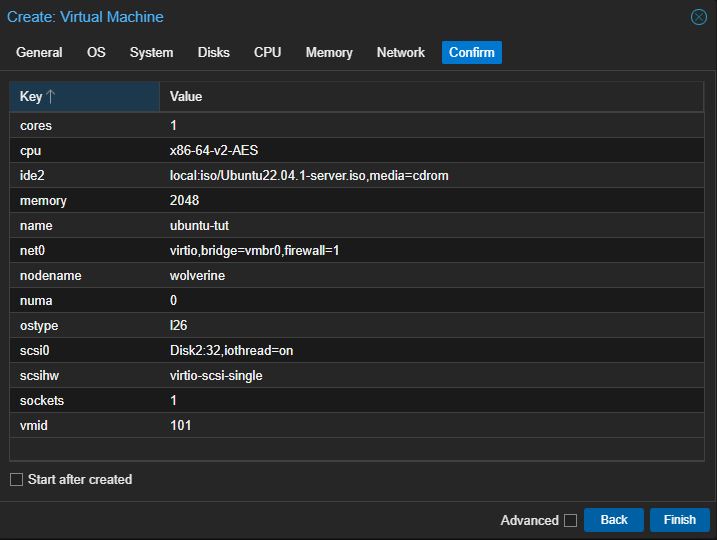
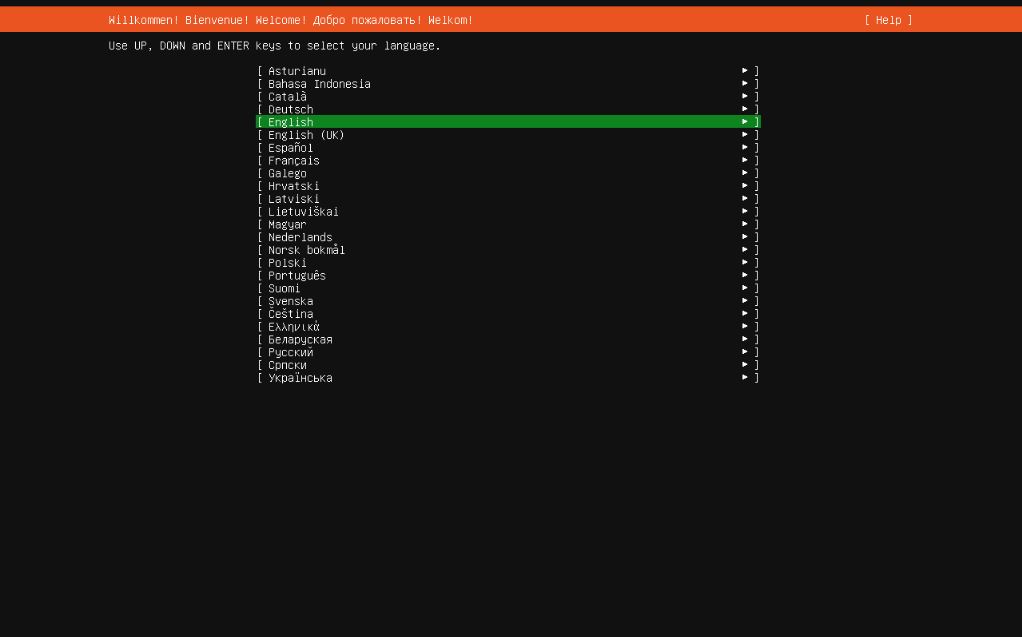
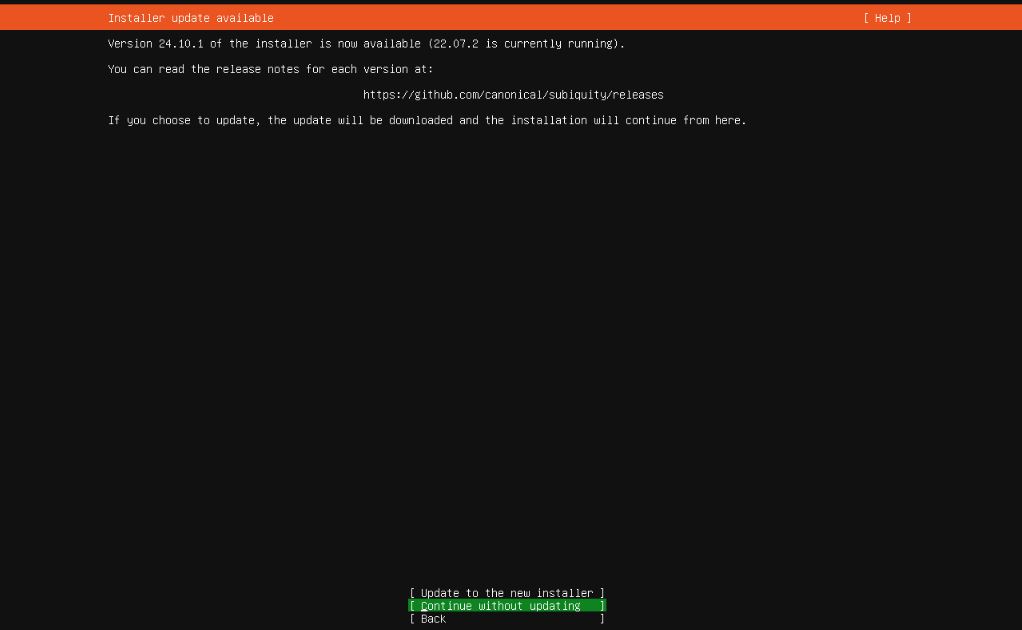
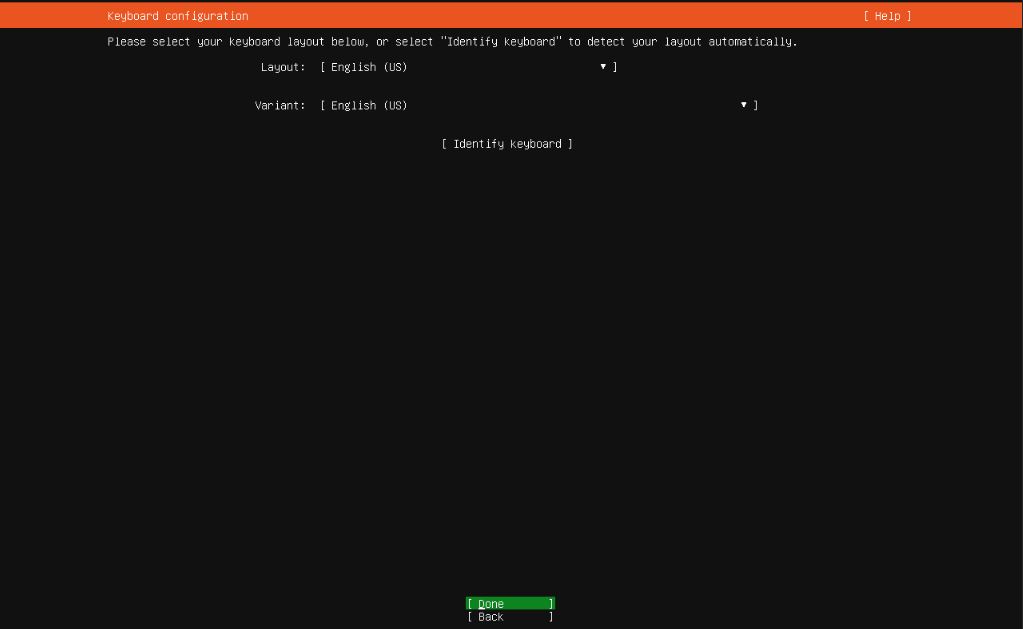
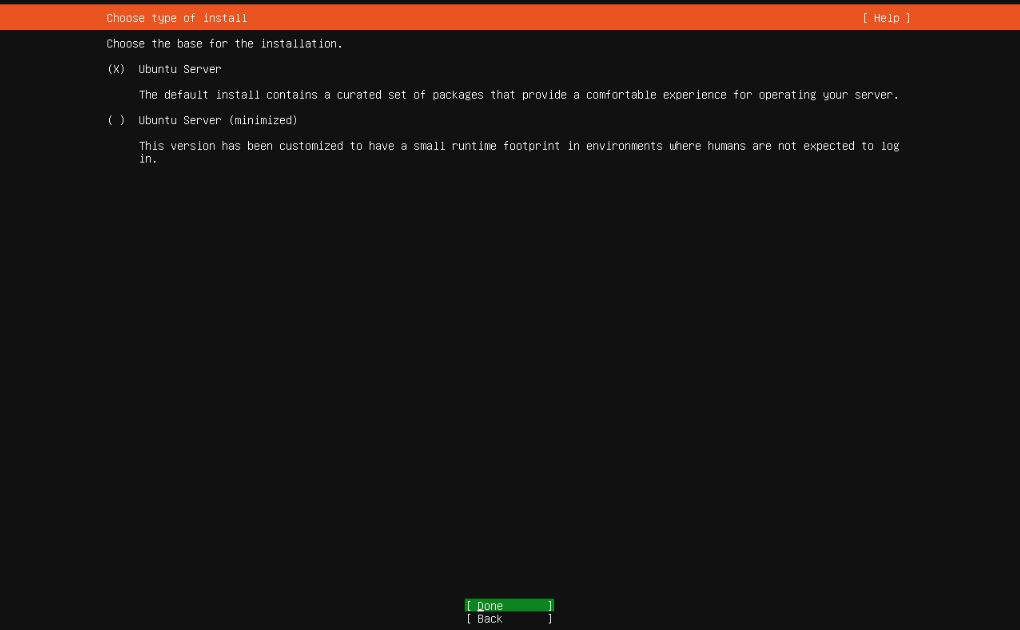
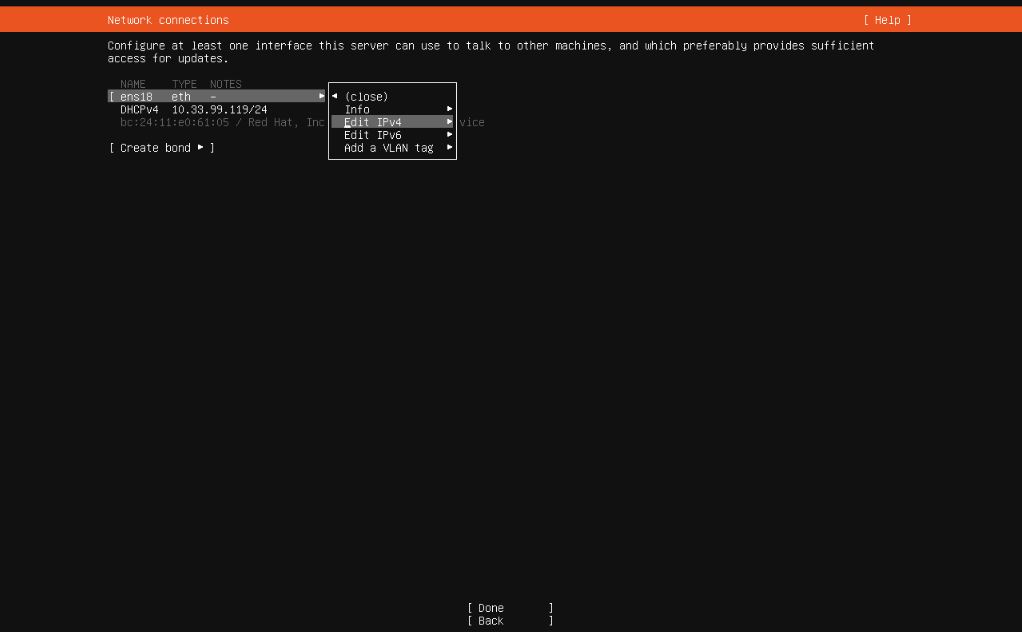
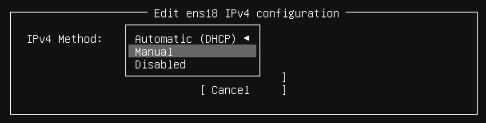
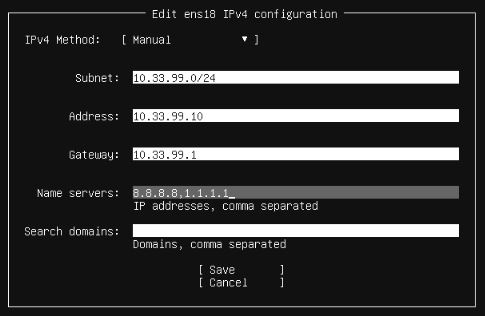
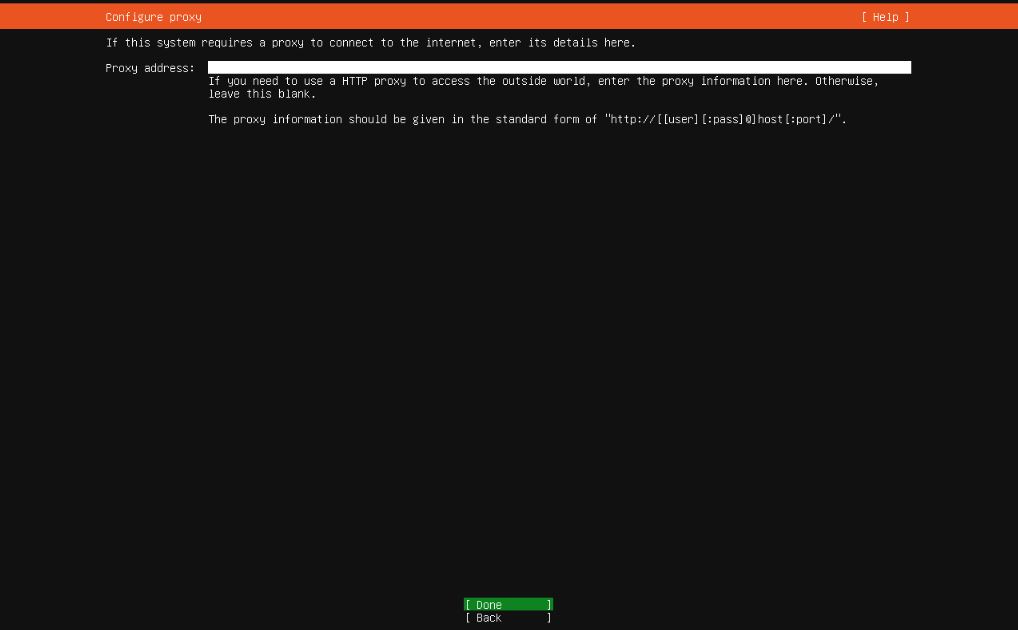
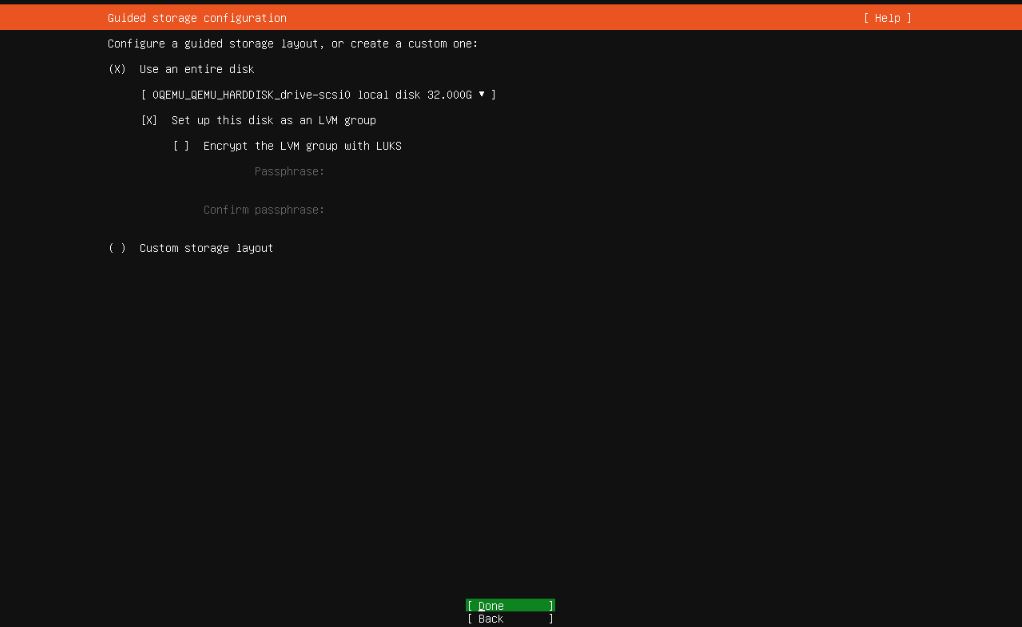
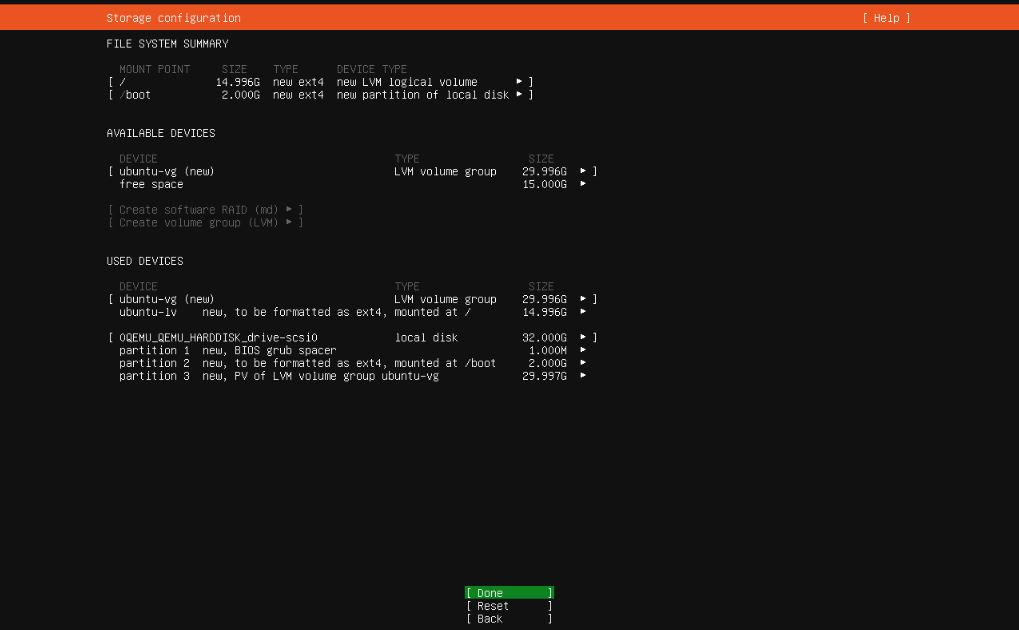
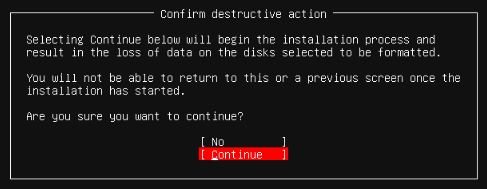
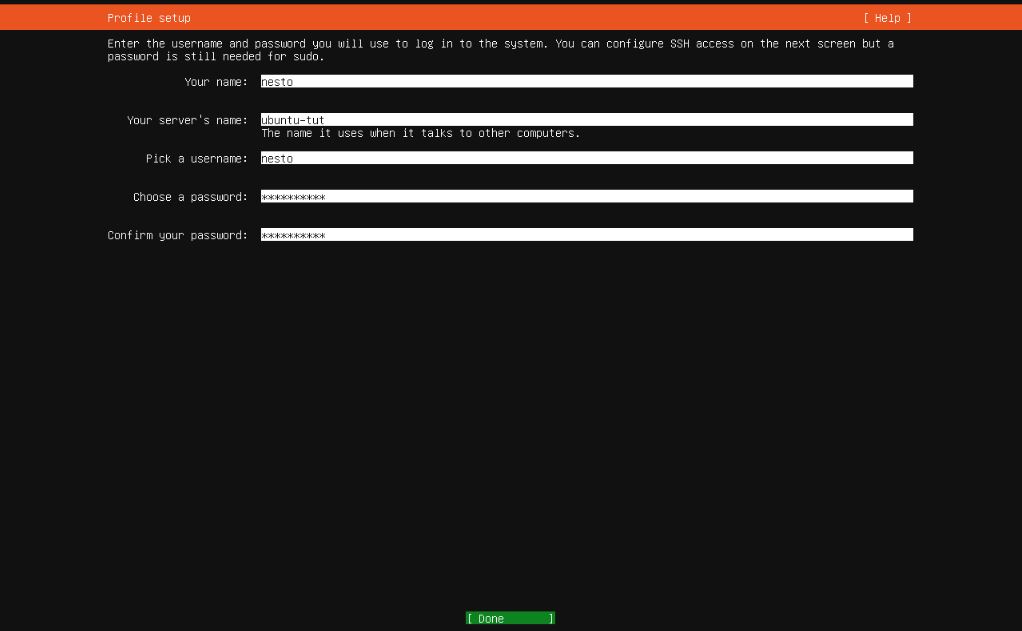
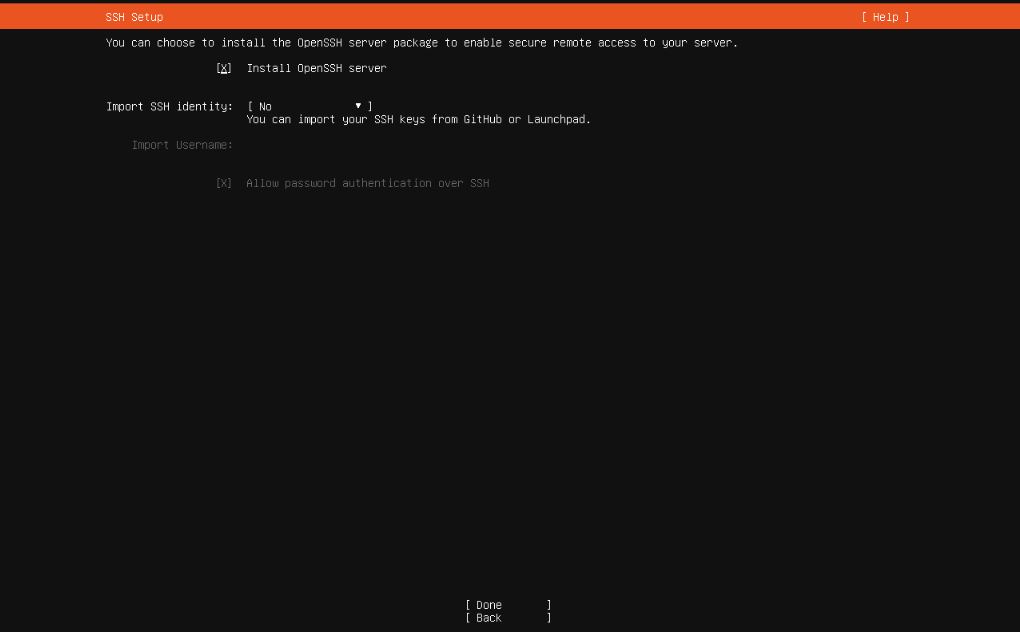
How to create and install an Ubuntu 22.04 VM on Proxmox February 10, 2025January 23, 2025 by Nesto PROXMOX Ubuntu VM Installation Ubuntu 22.04 is what I prefer to use for all my servers. Here is a quick blog on how to download the ISO, create the VM on Proxmox and install the OS. Ubuntu 22.04 Install ‣ Prerequisites • Hypervisor How to install Proxmox A blog on how to install Proxmox ‣ My Setup HYPERVISOR Proxmox Dell PowerEdge R720 Intel Xeon E5-2680 v2 @ 2.80GHz 256GB RAM 7TB Storage VIRTUAL MACHINE Ubuntu 22.04 1 Cores 2GB RAM 32GB Storage ‣ ISO Download First, visit the official website to download the ISO. Ubuntu Server Download Scroll down to ‘Alternative Downloads’ and download the ‘22.04 LTS’ version. Now back on Proxmox, click on your ‘local’ volume. Then click on ‘Upload’ and select the ISO and wait for it to finish uploading. ‣ VM Creation Now for the creation of the VM I clicked on ‘Create VM’ on the top-right corner. The first section is the General tab. Node – If you have more than 1 Proxmox node you’ll select it here.VM ID – You can pick any number to assign it. The number will turn red if there’s already another VM with that same VM ID.Name – Naming convention is personal choice. Next is the OS tab. ISO Image – Select the Ubuntu 22.04 ISO.Type – Leave on Linux.Version – Leave on 6.x – 2.6 Kernel. Next is the System tab where you can leave everything on default. Next is the Disks tab. Storage – Pick the disk you want the VM to be saved on.Disk size – This will depend on what you’re using the server for. CPU tab is next. Sockets – You can adjust this depending on how many CPUs your server has.Cores – This will depend on your server and the needs of your VM. Memory will vary too, but this can be adjusted later if needed. I usually leave the the network tab at default, and I set everything up during the OS installation. Finally review the settings and click ‘Finish’. ‣ OS INSTALL First screen, press Enter to start the install. Select the language. I always continue without updating. Select keyboard preference. Press Enter on “Choose type of install”. To assign a static IP, press Enter on your interface, and then press the down arrow to get to “Edit IPv4” and press Enter again. Press Enter to open the drop-down menu and select Manual. Fill out the network settings for this server. Subnet – You’ll enter the CIDR notation.Address – The IP you want to give this server.Gateway – The IP address of the default gateway.Name servers – The IP address/s of your preferred DNS servers. Configure proxy or press Enter. Press Enter on “Done”. Press Enter again. Press down arrow to highlight “Continue” and press Enter. Fill out the Profile. Pick a username – This will be a user with sudo privileges. By default, the user “root” is disabled. Press Spacebar to Install OpenSSH server. Then finally press Enter to install. The server will reboot once it’s done.