INSTALLATION & SAML AUTHENTICATION
This is the first of a series on how I setup and use Zabbix. Here I will show how I installed Zabbix, and setup SAML authentication with Microsoft Entra ID on my home lab/network. Which is almost the same as how I set it up at my workplace.
Zabbix is an open-source monitoring solution designed to monitor the performance and availability of various IT infrastructure components. It can track network devices, servers, virtual machines, databases, applications, and cloud services. Zabbix provides detailed insights into these systems, helping administrators identify and troubleshoot issues quickly before they impact operations.
Hypervisor
Virtual Machine
Server :
OS :
CPU :
RAM :
Storage :
Dell PowerEdge R720
Proxmox 8.1.4
Intel Xeon E5-2680 v2 @ 2.80GHz
256GB
7TB
OS :
CPU :
RAM :
Storage :
Ubuntu 22.04
4 cores
8GB
80GB
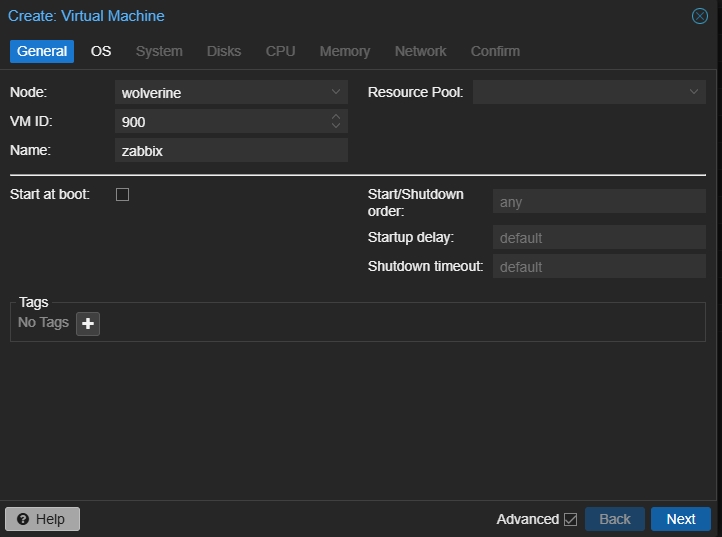
General tab: Changed VM ID, and named it ‘zabbix’.
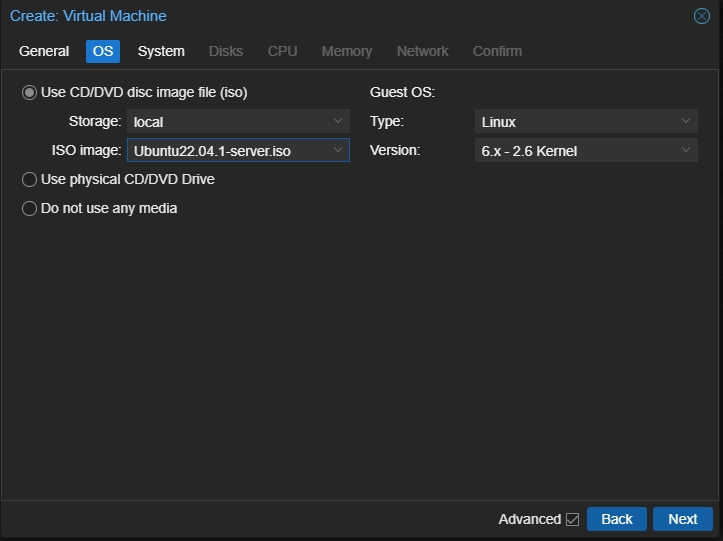
OS tab: Chose the ISO for Ubuntu22.04.1-server.
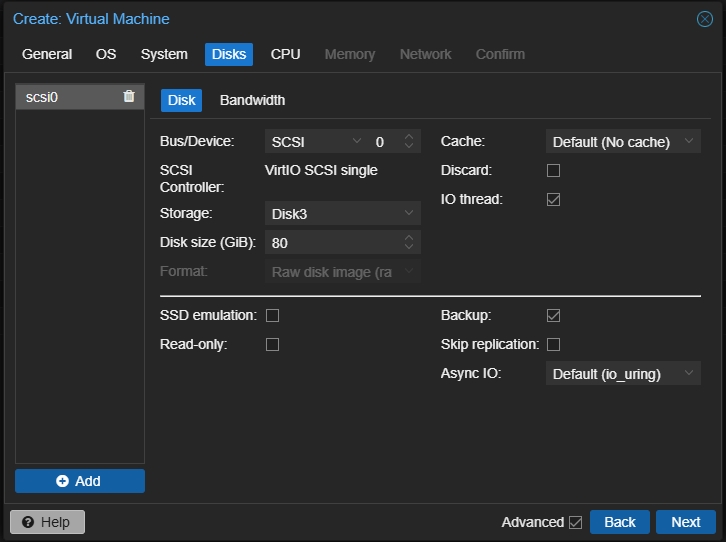
Disks tab: Changed storage location, and set disk size to 80GB.
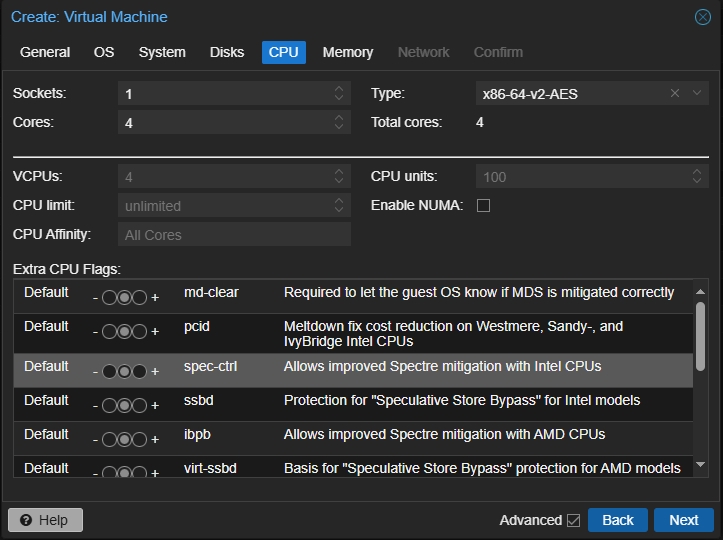
CPU tab: I gave the VM 4 cores.
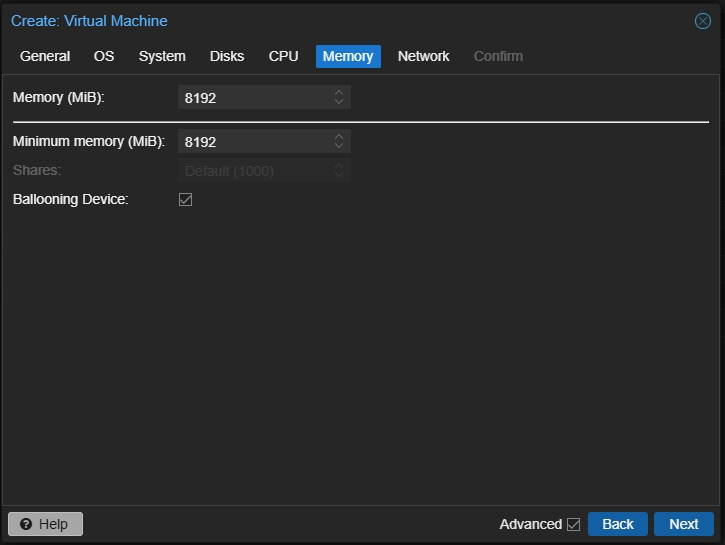
Memory tab: I gave the VM 8GB.
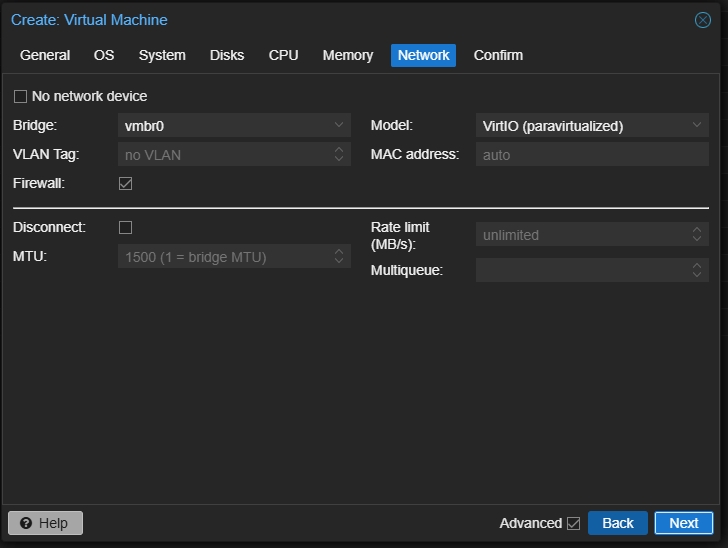
Network tab: I left defaults.
Installing Zabbix
Before starting, it’s always a good idea to ensure your system packages are up to date.
					sudo apt update
sudo apt upgrade -y
sudo shutdown -r now
Start session as sudo.
sudo -s
Zabbix uses a web interface and a database to store information, so I need to install Apache, MySQL, and PHP.
					sudo apt install apache2 -y
sudo apt install mysql-server -y
sudo apt install php php-mbstring php-bcmath php-xml php-gd php-ldap php-mysql php-zip -y
To install Zabbix, I added the official Zabbix 6.4 repository to my server.
					wget https://repo.zabbix.com/zabbix/6.4/ubuntu/pool/main/z/zabbix-release/zabbix-release_6.4-1+ubuntu22.04_all.deb
sudo dpkg -i zabbix-release_6.4-1+ubuntu22.04_all.deb
sudo apt update
Now that the Zabbix repository is added, I installed the Zabbix server, frontend, and agent.
sudo apt install zabbix-server-mysql zabbix-frontend-php zabbix-apache-conf zabbix-agent -y
Logged into MariaDB to create a database for Zabbix.
sudo mysql -u root -p
Created the Zabbix database and user.
					CREATE DATABASE zabbix CHARACTER SET utf8mb4 COLLATE utf8mb4_bin;
CREATE USER 'zabbix'@'localhost' IDENTIFIED BY 'your_password';
GRANT ALL PRIVILEGES ON zabbix.* TO 'zabbix'@'localhost';
set global log_bin_trust_function_creators = 1;
EXIT;
Imported the initial schema.
zcat /usr/share/zabbix-sql-scripts/mysql/server.sql.gz | mysql --default-character-set=utf8mb4 -uzabbix -p zabbix
Edited the Zabbix server configuration file.
sudo nano /etc/zabbix/zabbix_server.conf
I updated the following line with the password I created for the Zabbix database user.
DBPassword=your_password
Started and enabled Zabbix and Apache services.
					sudo systemctl restart zabbix-server zabbix-agent apache2
sudo systemctl enable zabbix-server zabbix-agent apache2
I then opened my browser and accessed the Zabbix frontend by going to the following url.
http://your_server_ip/zabbix
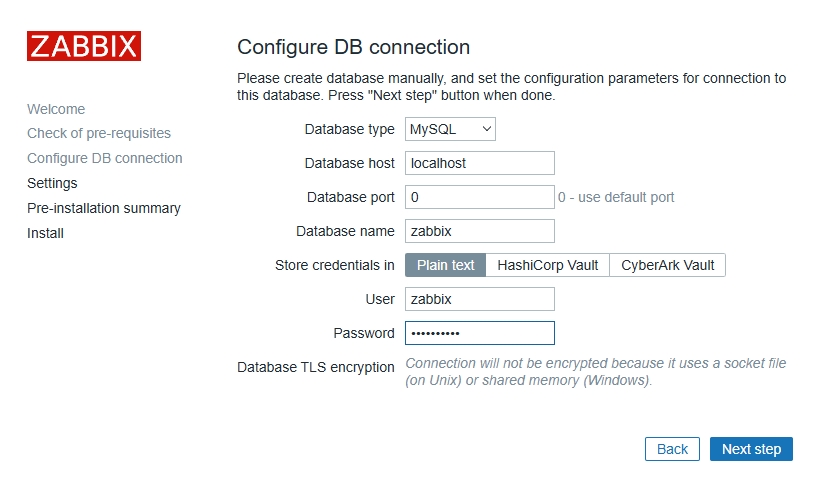
I followed the on-screen instructions to finish the setup. I provided the Zabbix database connection details I set earlier:
- Database Name:
zabbix Database User:zabbixDatabase Password:your_password
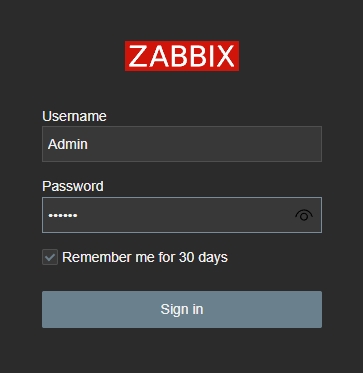
Once I completed the web installation steps, I logged in to Zabbix using the default credentials:
- Username:
Admin - Password:
zabbix
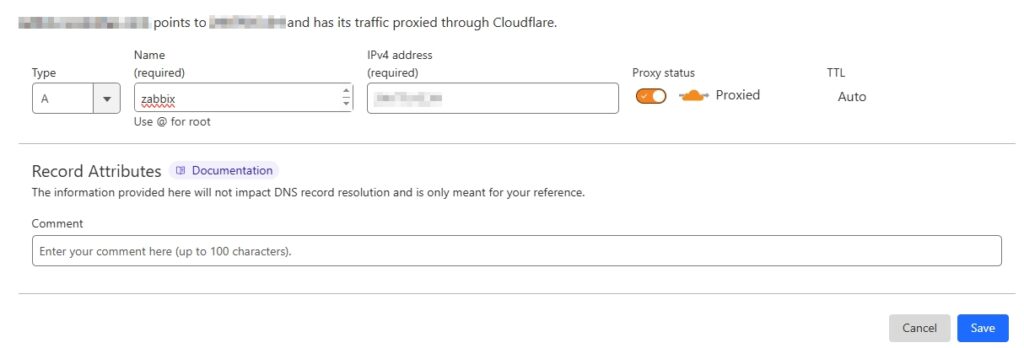
First, I made an A Record on Cloudflare, pointing to my network’s public IP.
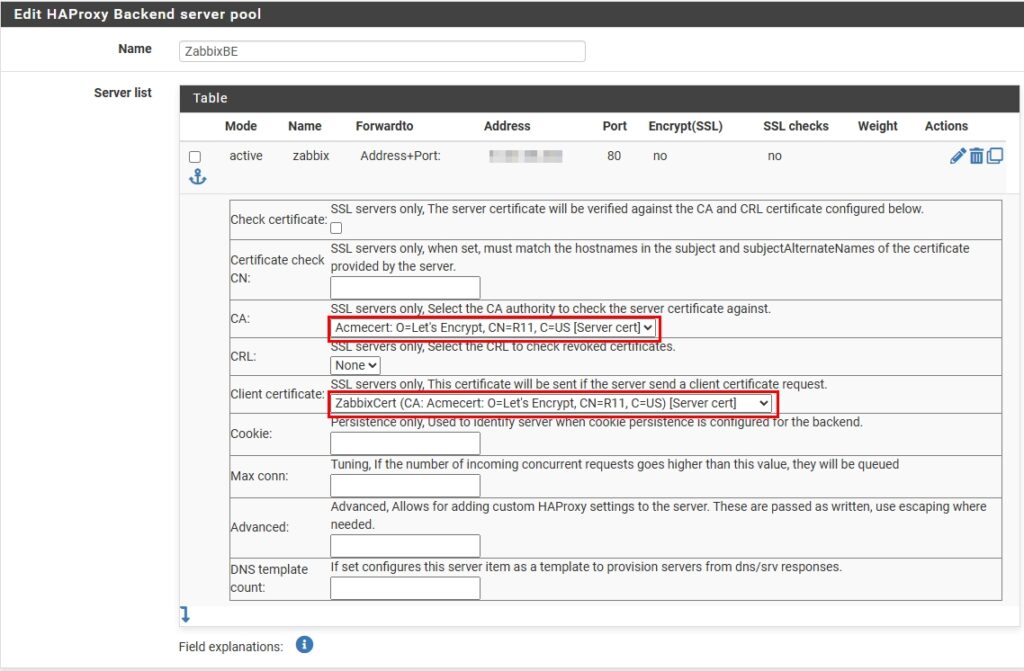
I then logged into my pfSense router and went to Services > HAProxy > Backend > Add

I gave it a name I can easily recognize.
Server List::
Name: zabbix
Forwardto: Address+Port
Address: Internal IP address of Zabbix server
Port: 80
CA: Chose my Acme Cert
Client Certificate: Cert I created for this domain
Health Checking::
Health check method: none
Then saved.

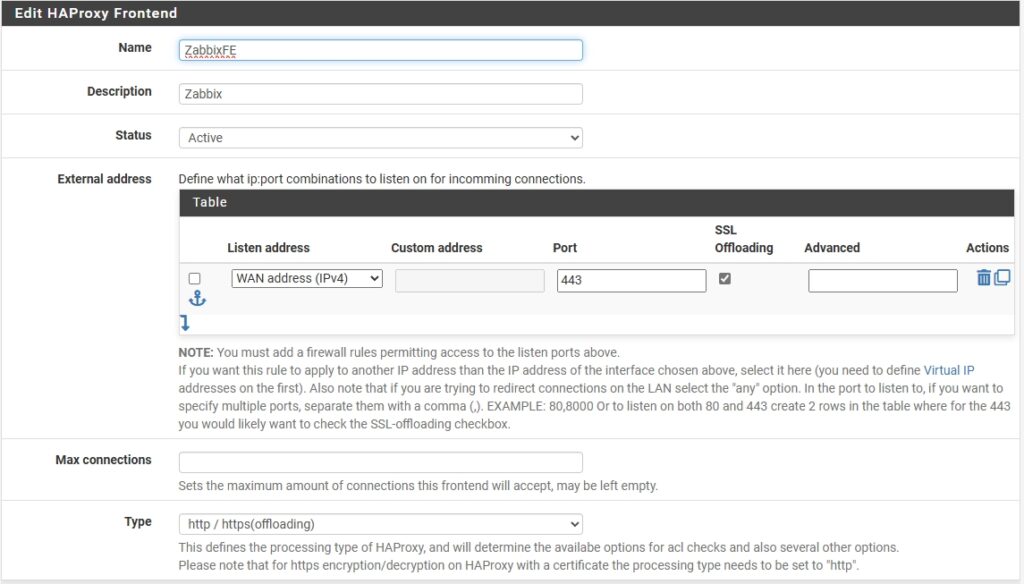
Then I went to Frontend > Add

I gave it an easily recognizeable name.
External Address::
Listen Address: WAN Address
Port: 443
SSL Offloading: checked
Access Control Lists::
Name: zabbixacl
Expression: Host matches
Value: <domain name>
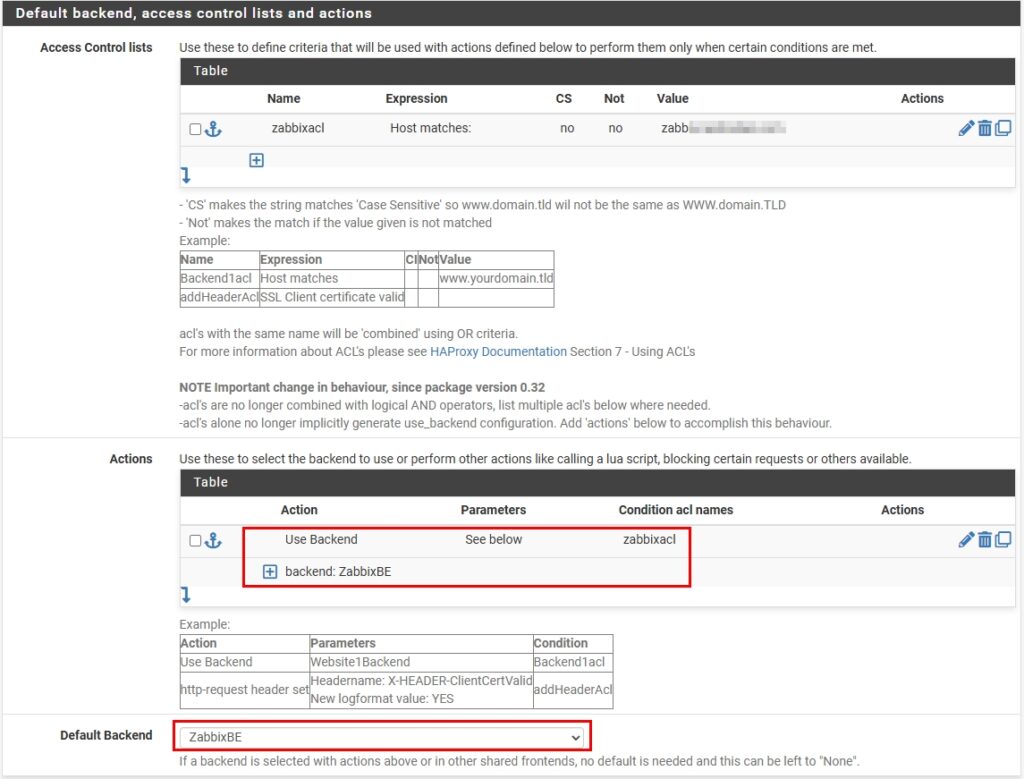
SSL Offloading::
Certificate: Cert I created earlier
Additional Certificates::
I added that same cert.
Checked ‘Add ACL for certificate Subject Alternative Names’
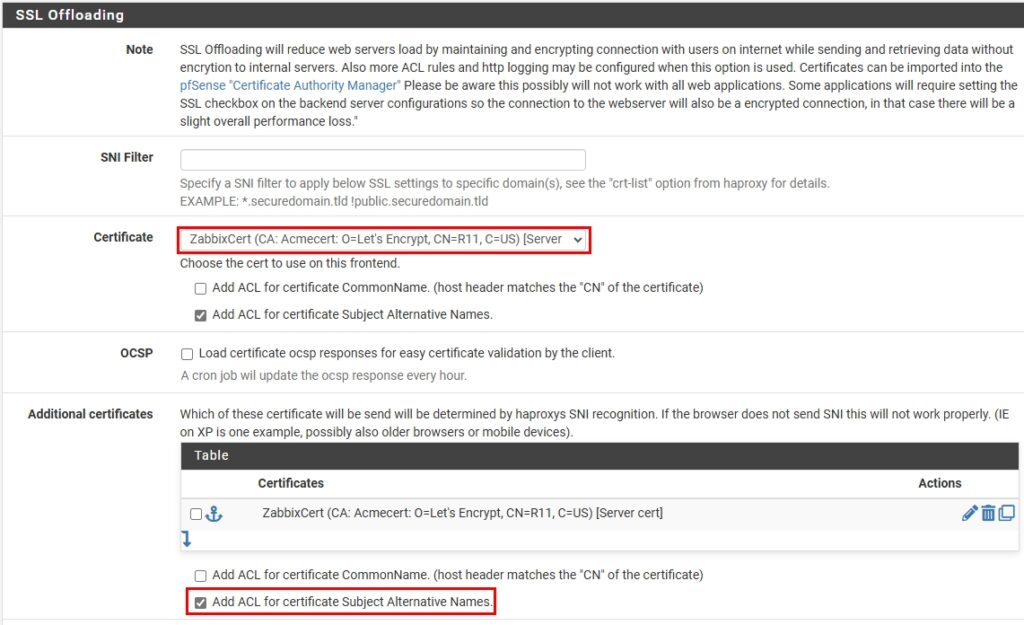
Then saved, and now Zabbix is accessible from the domain name.
SAML Authentication
First, I need to create the users in Zabbix by going to Users > Users > Create user.
When filling out the Username, be sure to use the domain email.
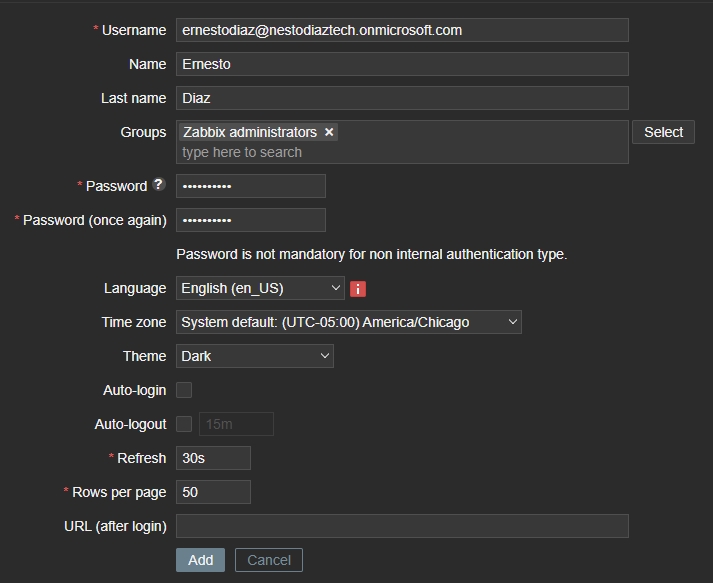
Click on the Permissions tab and assign the user a Role. Then click Add at the bottom.

Next, go to your Entra ID Admin portal. Go to Manager > Enterprise Applications > New Application.
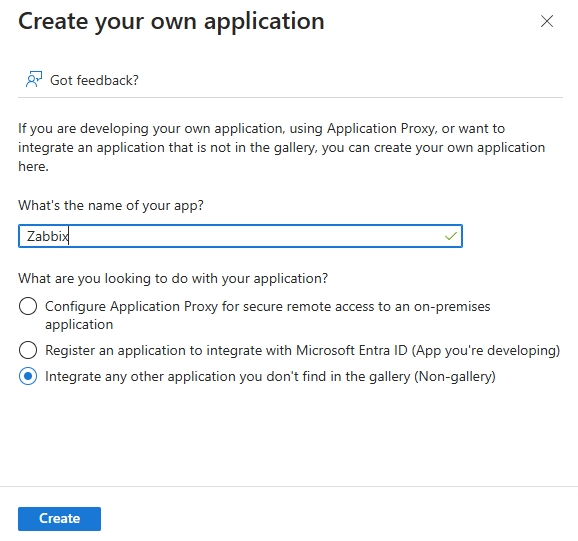
Click on Create Your Own Application
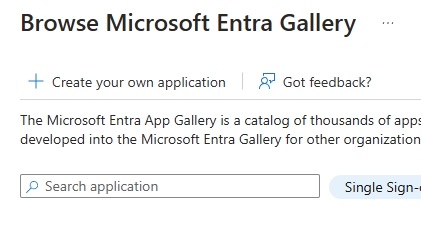
Name the application Zabbix and click Create.
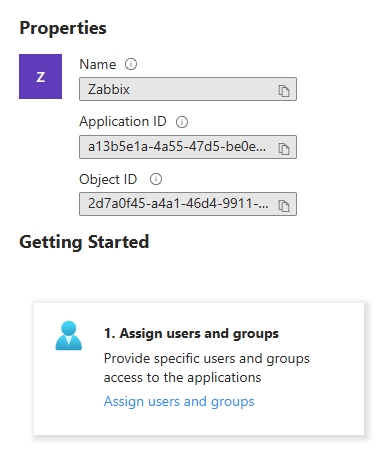
After a few seconds the application is created and you can select Assign Users and Groups.
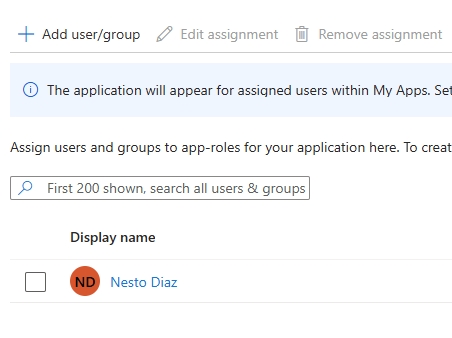
Then add users and/or groups that you want to have access to Zabbix.
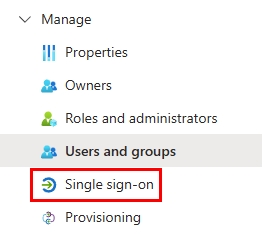
Then select Single Sign-On from the left-side menu.
Click on SAML.
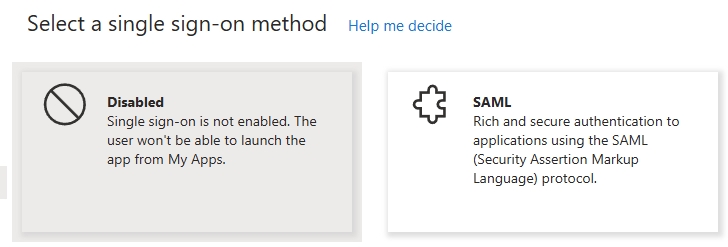
For the first section fill out the following:
- Identifier:
https://<domain>/zabbix/sp - Reply URL:
https://<domain>/index_sso.php - Logout Url:
https://<domain>/index_sso.php?sls

For the second section fill out the following:
- name:
user.userprincipalname - Alias:
user.userprincipalname - Unique User Identifier:
user.userprincipalname

On the third section you’ll just need to download the Certification (Base64).
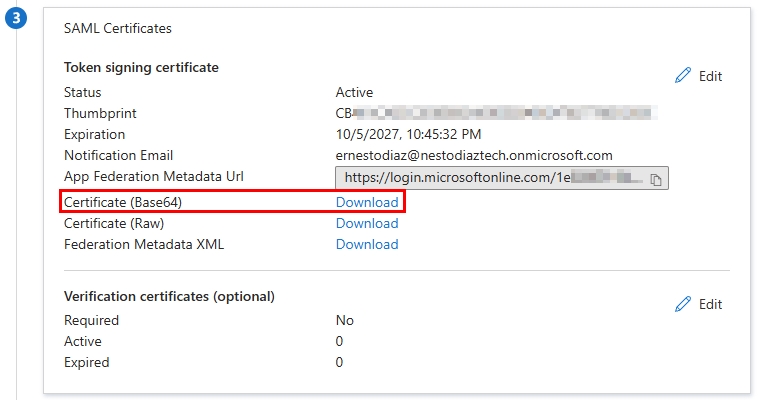
Create the following file on your Zabbix server and paste the cert.
sudo nano /etc/zabbix/zabbix_server.conf
Copy the following links because we’ll be inputting them into Zabbix.

On Zabbix you’ll go to Users > Authentication > SAML.
Then check the box to Enable SAML authentication, and fill out the form with the previous links. Then click Update.
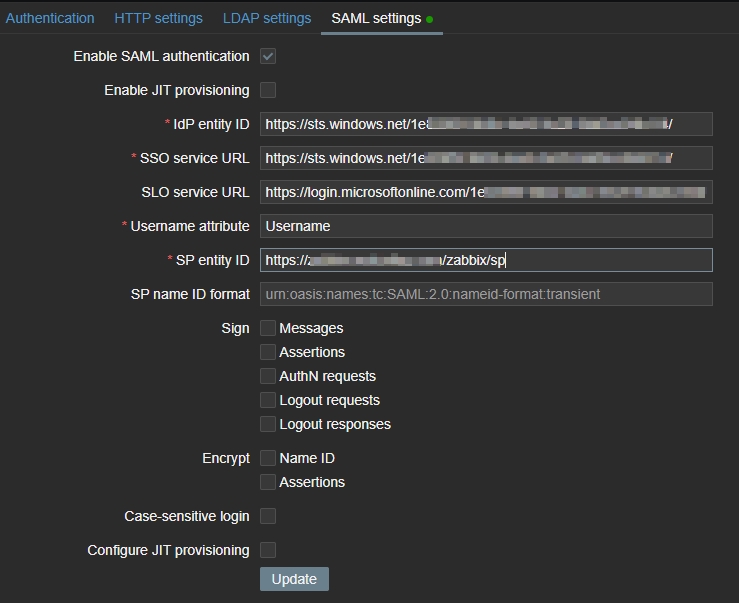
Now go to https://<domain>/zabbix and you’ll be able to click on Sign in with Single Sign-On (SAML)
