Table of Contents
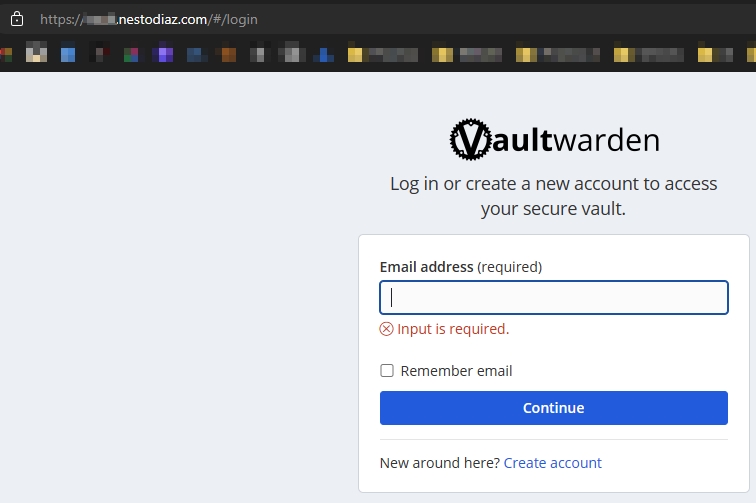
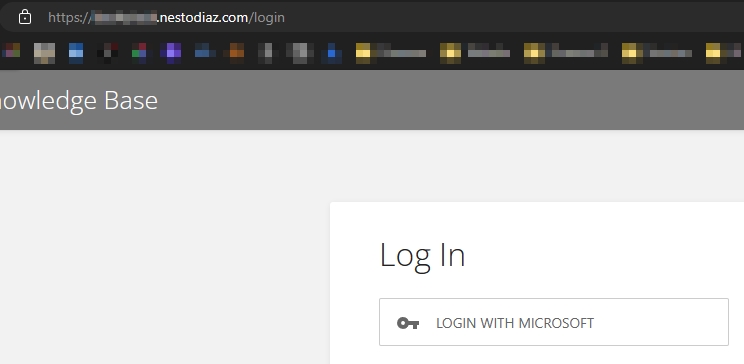
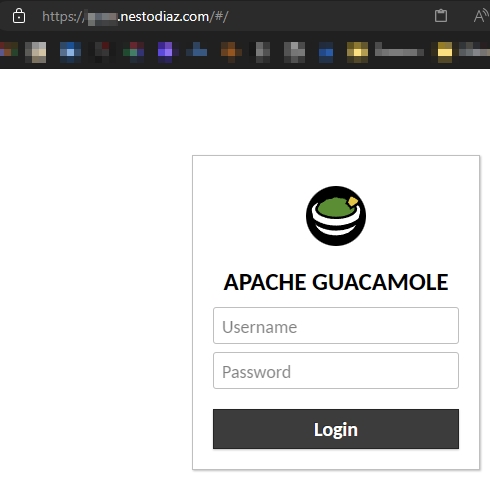
In this blog I will go over how I setup Nginx Proxy Manager to be able to access my services outside of my local network. I use this to access my password manager (Vaultwarden), my personal wiki (Bookstack), and my remote desktop gateway (Apache Guacamole), and much more.
-
Server Configuration
Initial Setup
01. After logging in as root, I ran the following command to update packages.
sudo apt-get update && sudo apt upgrade -y
apt-get update – updates the package lists for upgrades and new package installations. apt upgrade – will upgrade all currently installed packages. -y – will automatically answer ‘yes’ to any prompts. 02. Next I installed some more necessary packages.
sudo apt-get install apt-transport-https ca-certificates curl software-properties-common -y
apt-transport-https – allows the package management utility to handle HTTPS sources. ca-certificates – is used to verify the authenticity of HTTPS connections. curl – is used to be able to download files from the internet. software-properties-common – adds useful scripts for managing software repositories.
03. Next I added a user, because it's good practice to not use 'root'.
sudo adduser nesto
04. Then I added the user to the sudo group, that way they have sudo permissions to run commands.
sudo usermod -aG sudo nesto
05. Then I installed OpenSSH so I can remote in using MobaXterm (you can use Putty if you'd like)/
sudo apt install openssh-server
06. The SSH service will usually start after installing it, but I like to make sure by running the following command.
sudo systemctl start ssh
07. I won't go over how to do this, but I used MobaXterm to SSH into this Ubuntu server. Mainly because it's easier to copy and paste commands into the CLI.
Installing Docker
08. Running the following command will download the official GPG key for the Docker repository.
curl -fsSL https://download.docker.com/linux/ubuntu/gpg | sudo apt-key add -
-fsSL – Is a combination of flags: -f – tell ‘curl’ to not output anything if the HTTP status code indicates an error.. -s – tells ‘curl’ to hide the progress meter and error messages. -S – tells ‘curl’ to show error messages if it fails. -L – tells ‘curl’ to handle redirects.
09. Then I added the Docker repository with this command.
sudo add-apt-repository "deb [arch=amd64] https://download.docker.com/linux/ubuntu $(lsb_release -cs) stable"
deb – indicates that the repository is for binary packages. [arch=amd64] – means the repository is for 64-bit software. $(lsb_release -cs) – returns the codename for the Ubuntu server we installed and currently running commands on
stable tells the repository to use the latest stable version for Docker.
10. Updated packages again.
sudo apt-get update
11. Now I can install Docker Community Edition with the following command.
sudo apt-get install docker-ce -y
12. To test if Docker is installed correctly, I ran the following which will pull an image from the internet and output data to tell you if Docker is working.
sudo docker run hello-world
13. (Optional) Docker should start on it's own after installing, but you can double check by running the following command to start the service.
sudo systemctl start docker
14. Important: I wanted Docker to run upon startup, that way if there is a power outage, I won't have to manually start it.
sudo systemctl enable docker
15. I then added the user I created to the 'Docker' group, so that I have permission to run docker commands.
sudo usermod -aG docker ${USER}
Installing Docker-Compose
16. Now I downloaded Docker-Compose, and placed it in the '/usr/local/bin' directory.
sudo curl -L "https://github.com/docker/compose/releases/download/v2.7.0/docker-compose-$(uname -s)-$(uname -m)" -o /usr/local/bin/docker-compose
-L – Tells ‘curl’ to follow any redirects. $(uname -s) and $(uname -m) – are used to automatically fill in the system’s kernel name and machine hardware name (e.g. ‘Linux’ and ‘x86_64).
17. Then I made the Docker-Compose binary executable.
sudo chmod +x /usr/local/bin/docker-compose
18. You can check if the installation was successful by running the following command.
docker-compose --version
-
Nginx Proxy Manager Installation
Configuring YAML File
19. I then created a directory called 'nginx' to keep things organized, and then moved into that directory.
mkdir nginx && cd nginx
20. Then I created the yaml file.
nano docker-compose.yml
21. I copy and pasted the following and made minor changes detailed below.
					version: '3.8'
services:
  app:
    image: 'jc21/nginx-proxy-manager:latest'
    restart: unless-stopped
    ports:
      # These ports are in format <host-port>:<container-port>
      - '80:80' # Public HTTP Port
      - '443:443' # Public HTTPS Port
      - '81:81' # Admin Web Port
      # Add any other Stream port you want to expose
      # - '21:21' # FTP

    # Uncomment the next line if you uncomment anything in the section
    # environment:
      # Uncomment this if you want to change the location of
      # the SQLite DB file within the container
      # DB_SQLITE_FILE: "/data/database.sqlite"

      # Uncomment this if IPv6 is not enabled on your host
      # DISABLE_IPV6: 'true'

    volumes:
      - ./data:/data
      - ./letsencrypt:/etc/letsencrypt
ports: 80:80 – Maps port 80 on the host to port 80 on the container
I changed port 80 on mine.
To save it you press ‘CTRL+X’, press ‘y‘, and then hit ‘Enter‘.
22. Finally to install I ran the following.
docker-compose up -d
23. To check if it's running you can enter the following.
sudo docker ps
-
Domain Setup
Cloudflare DNS
24. I created a free account on Cloudflare, and navigated to DNS > Records.
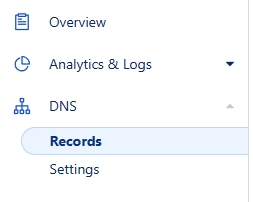
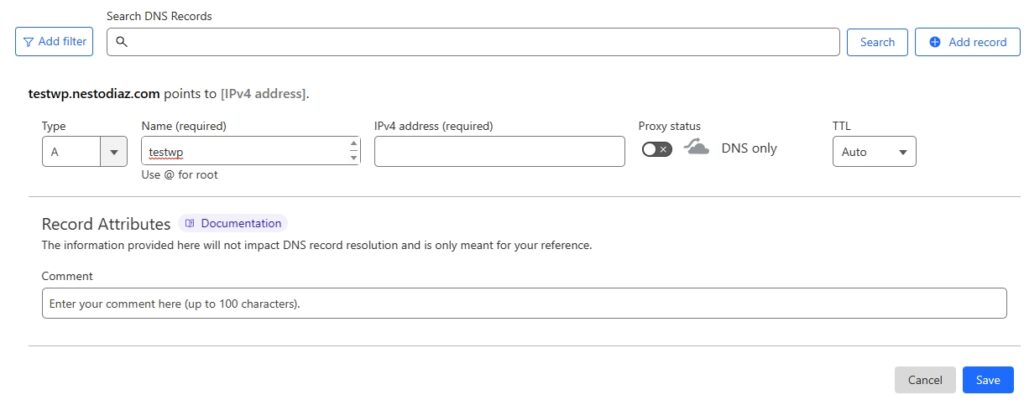
25. I then created an A Record and entered my public IP into the 'IPv4 address' field.
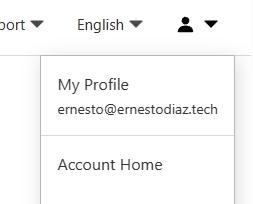
26. Then I clicked on the icon in the top-right and selected 'My Profile'.
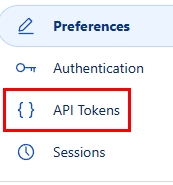
27. Then clicked on 'API Tokens'.
28. Then created a new token and used the 'Edit zone DNS' template.

29. Under 'Zone Resources' I changed it to All Zones.
Then clicked on 'Continue to summary' and saved the API token to use later.

-
Nginx Proxy Manager Setup
Initial Login
30. I navigated to the IP address I assigned the contrainer along with the port number.
The default login credentials are [email protected] : changeme.
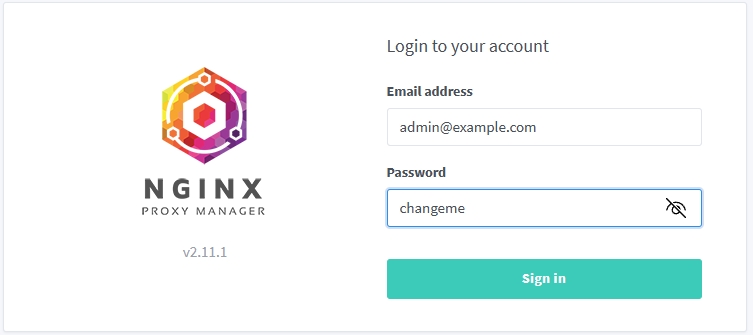
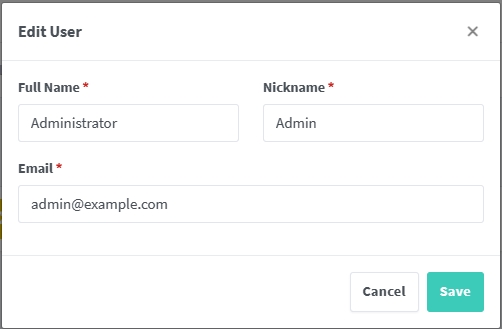
31. You'll then be asked to setup the admin account.
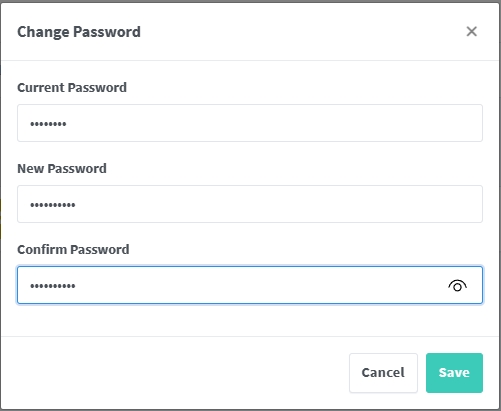
32. Then be asked to change the password.
Creating SSL Certificate
33. Then clicked on 'SSL Certificates'.

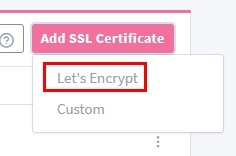
34. Then went to Add SSL Certificate > Let's Encrypt.
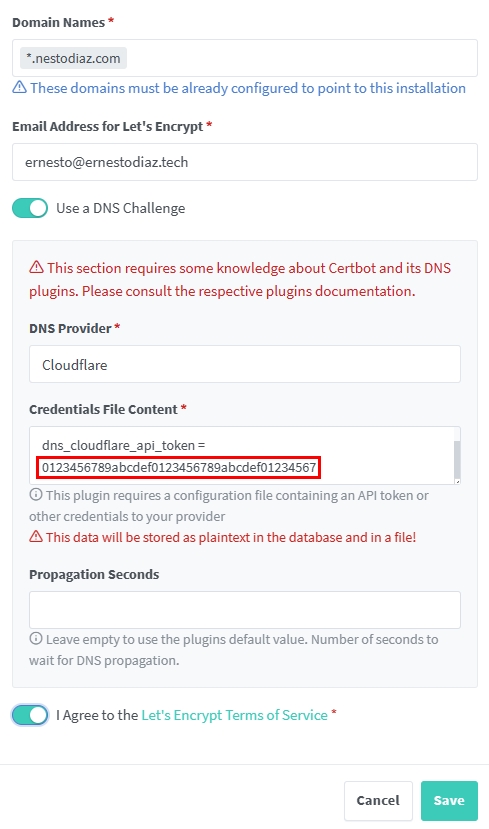
35. Then I changed the following:
Domain Name: I put an asterisk so I can use this cert for any sub-domain.
I made user 'Use a DNS Challege' was checked.
I selected Cloudflare and then replaced the API Token with the one I created.
Then agreed to the TOS and clicked 'Save'.
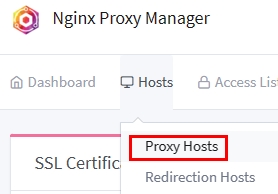
36. I then went to Hosts > Proxy Hosts.
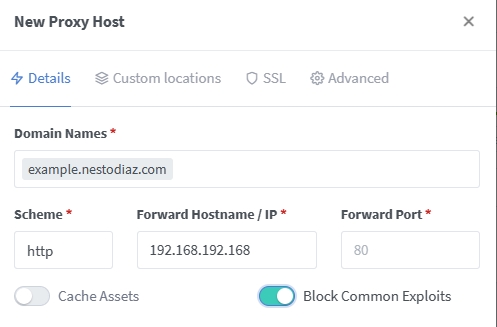
37. I then made the following changes:
Domain Names: I entered the same domain I setup in Cloudflare.
I then entered the IP of the server plus the port number.
I checked 'Block Common Exploits.
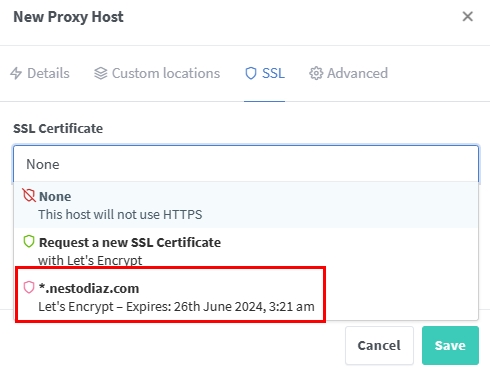
38. I then went to the SSL tab and selected the cert I created earlier.
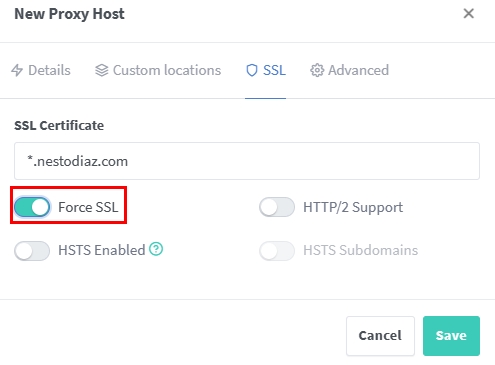
39. I SSH'd back into my server.
Finally, checked Force SSL and clicked Save.
40. I then repeated the steps for the services I wanted to access.
