Table of Contents
In this blog post, I walk you through the initial steps I took to install Proxmox VE. My server is pieced together from 3 different computers I had laying around. There will be more blogs detailing the virtual machines, containers, services, and networking setup on my home servers.
My Hardware
CPU
Intel i5-4570 @ 3.20GHz
Memory
2x4GB DDR3 1600 MHz 2x8GB DDR3 1600MHz
Motherboard
ASRock H97 Anniversary
Storage
480GB Sandisk Ultra II 2x1TB WDC WD1003
Network Adapter
Intel 82576 Dual RJ45 NIC
-
Setting Up USB
Downloads
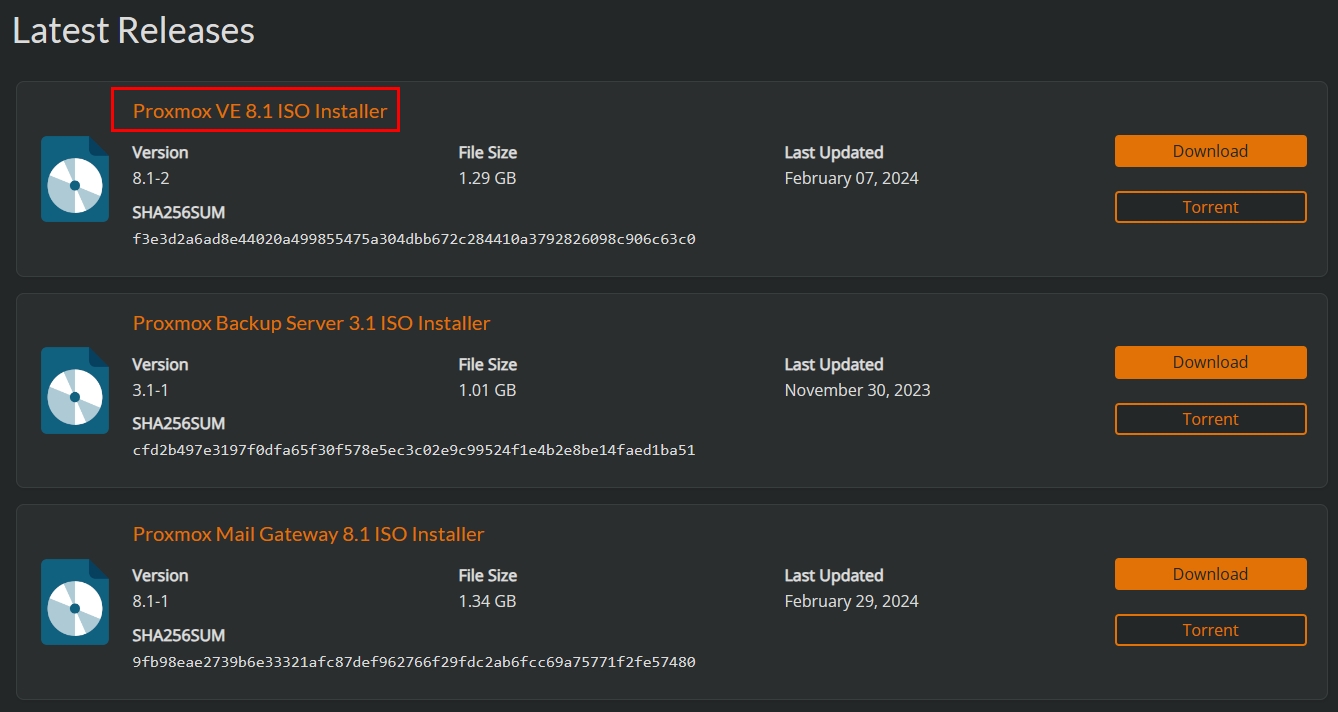
01. To download Proxmox go to Proxmox.com/en/downloads and download the latest VE ISO Installer.
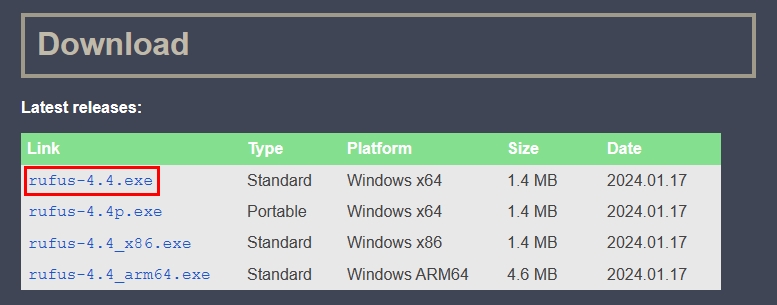
02. To be able to make a bootable USB stick, go to Rufus.ie/en/ and download and install the latest version.
Configuring USB
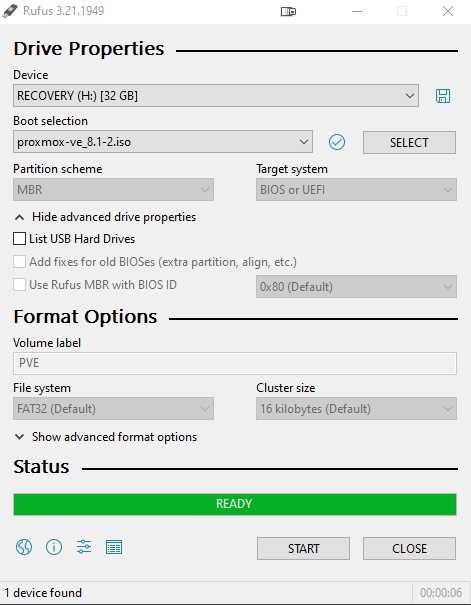
03. To configure the USB I started Rufus
Then selected the Proxmox ISO, left all the default settings, and clicked 'Start'.
04. Connect USB to your server, configure BIOS settings to boot from USB drive.
> This will vary quite a bit depending on your system. I didn't capture how I set mine up.
-
Installation
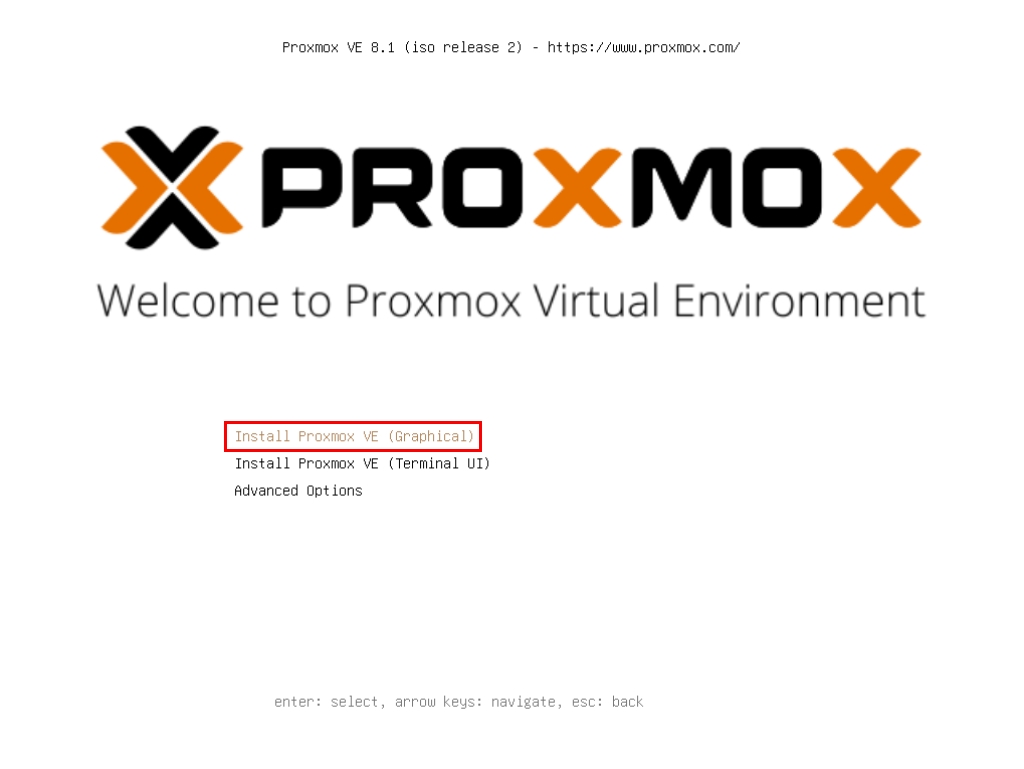
05. The first screen you'll see once booted up. I installed the graphical version.
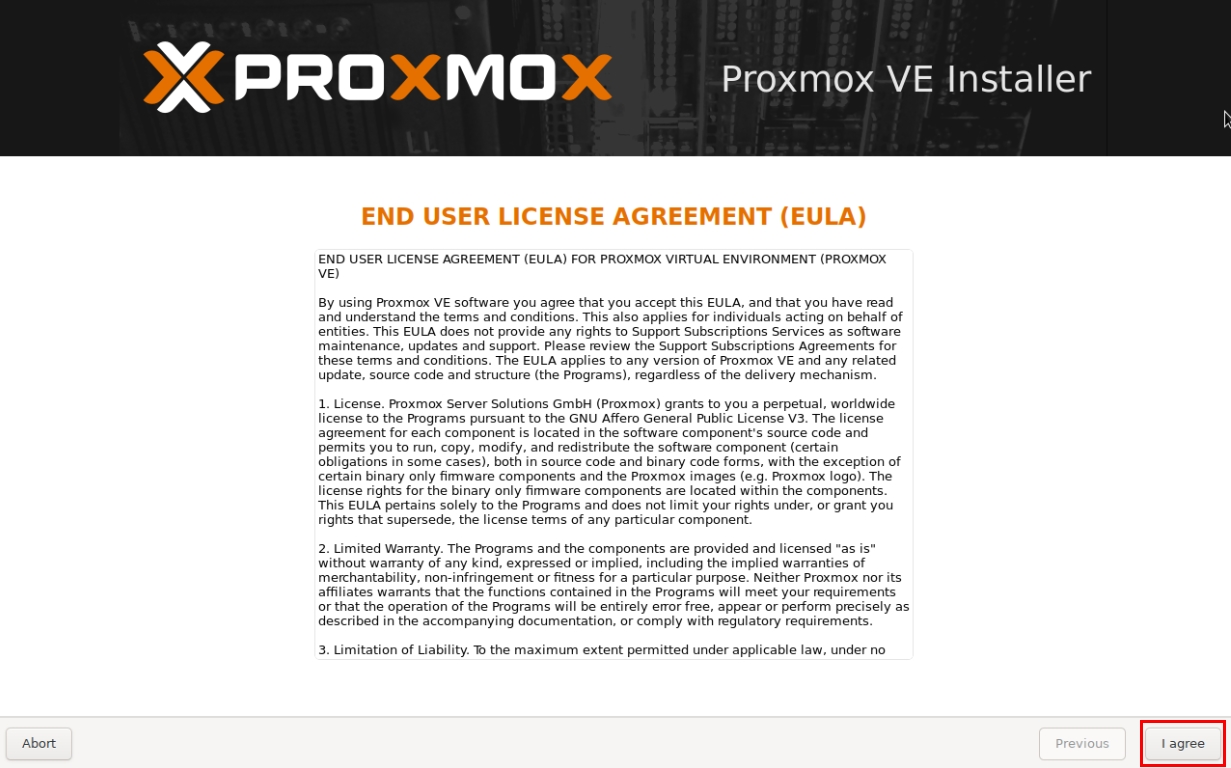
06. Accepted the EULA by clicking 'I agree'.
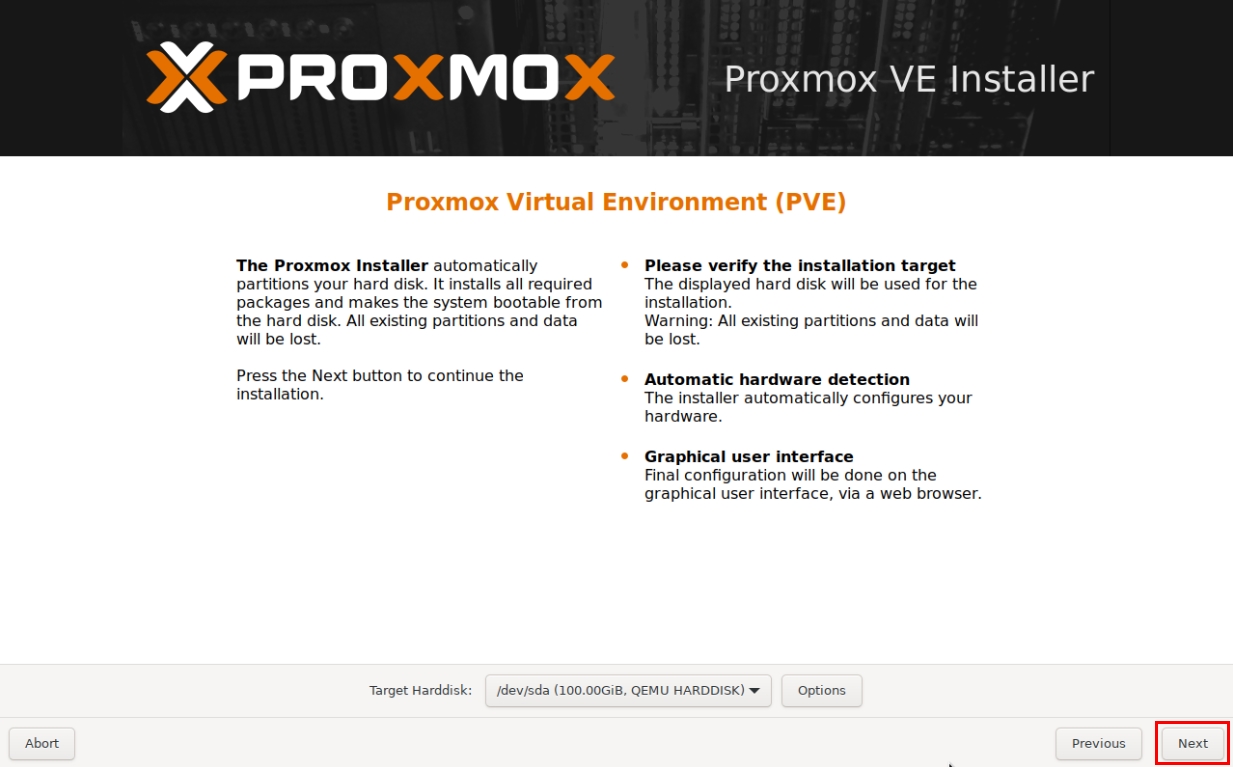
07. Select the hard drive you want to install the OS onto, and click 'Next'.
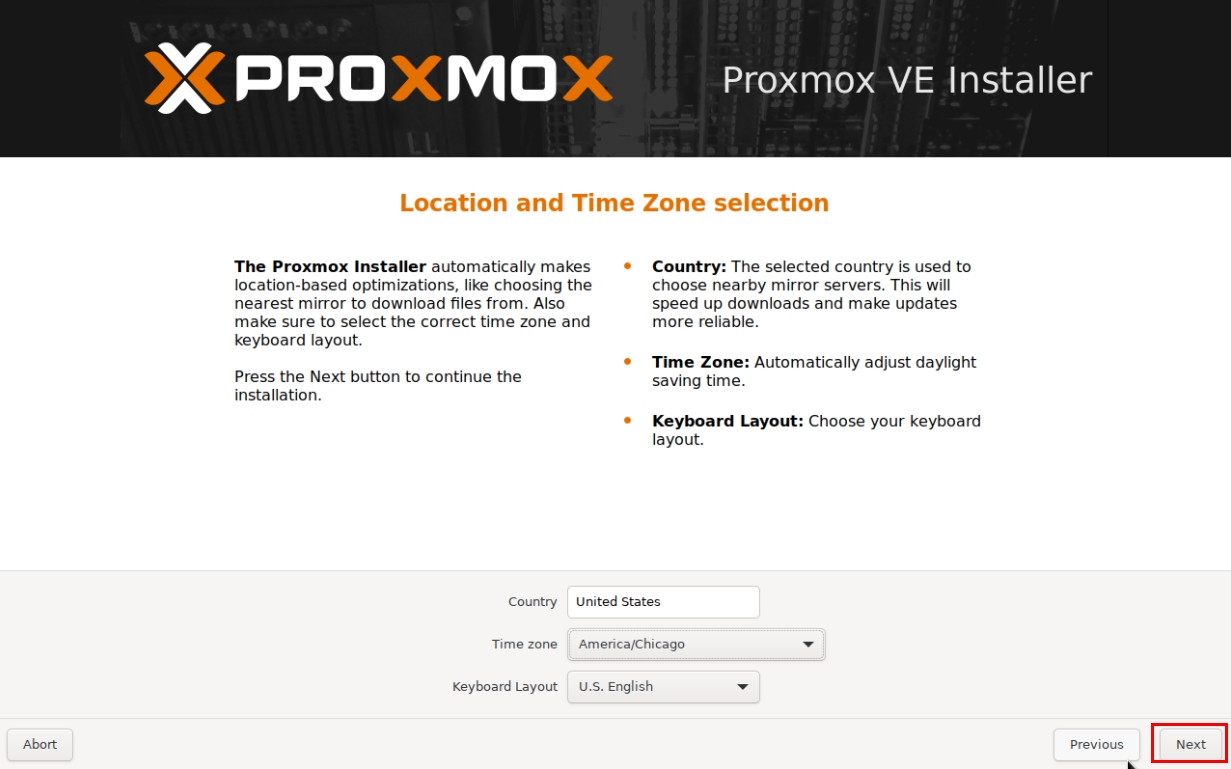
08. Start typing 'United' and select 'United States' from pop-up menu.
Then selected my time zone, then clicked 'Next'.
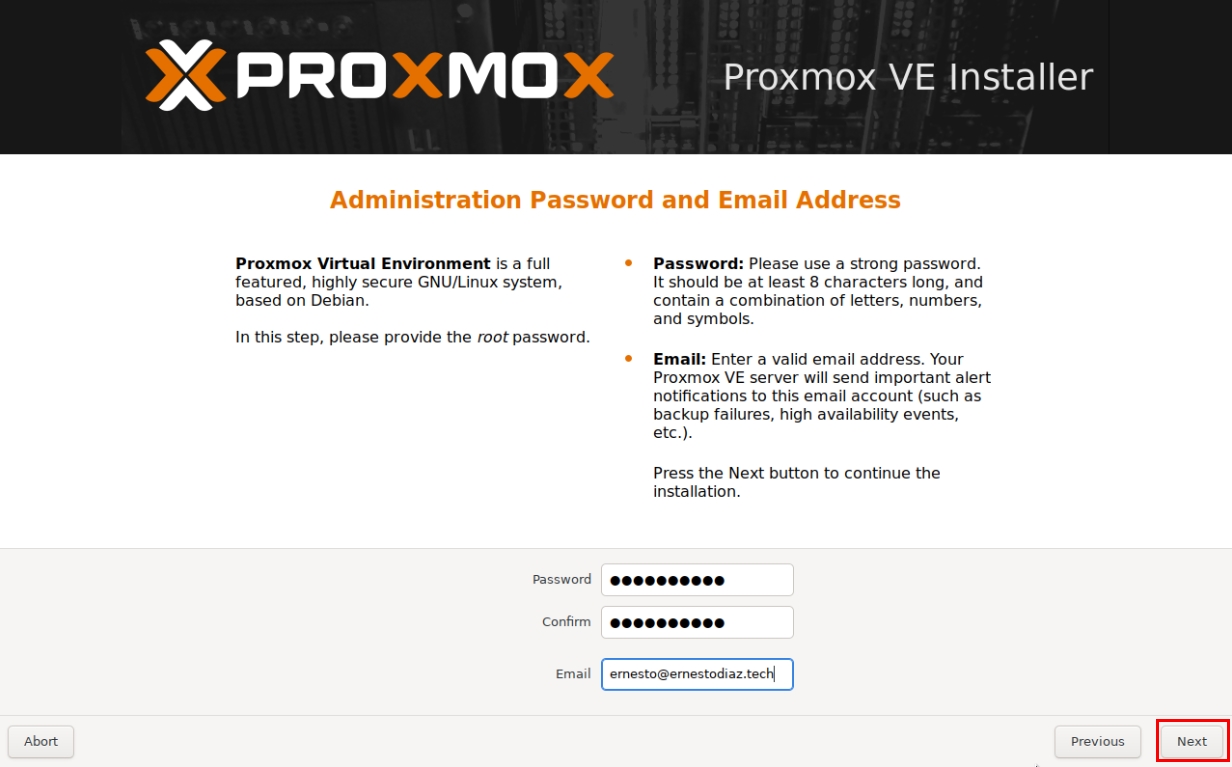
09. Setup password for the default user 'root', and entered my email.
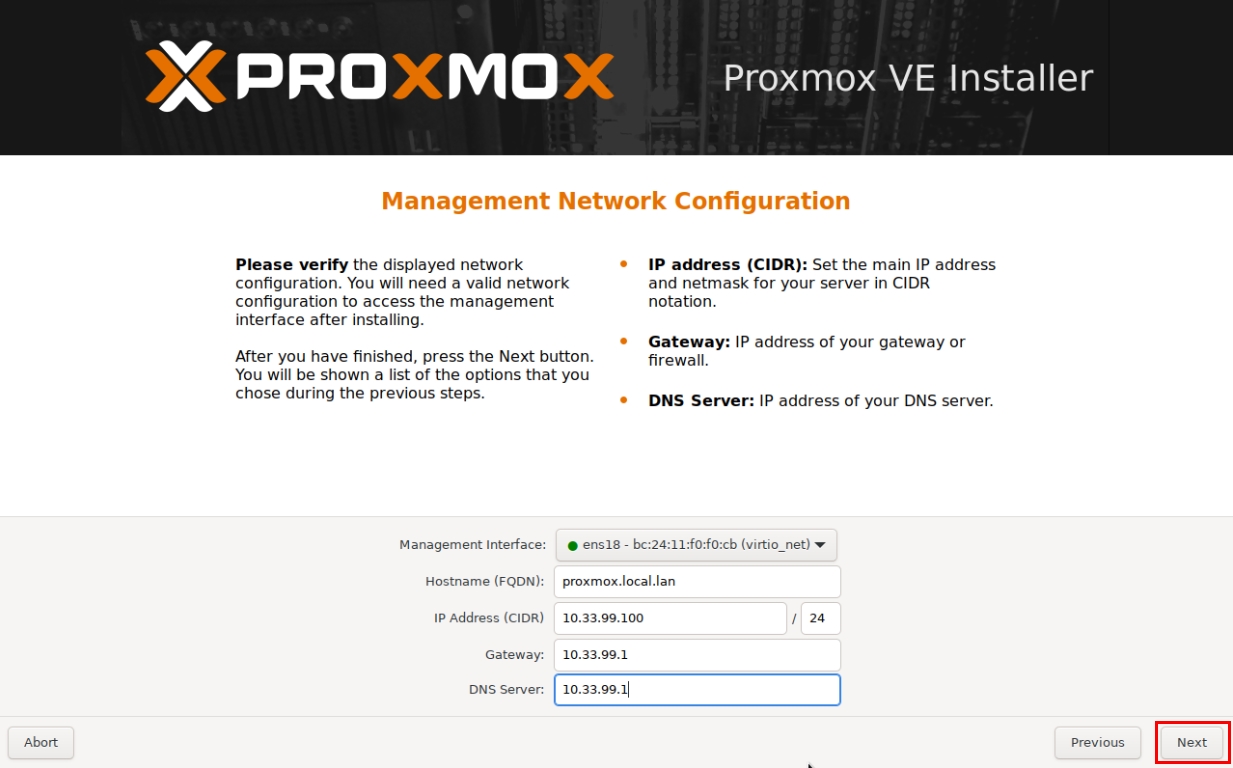
10. I selected the network port, set host name (it's recommended to never use one that ends in '.local'). Then I gave it an IP that falls within my network.
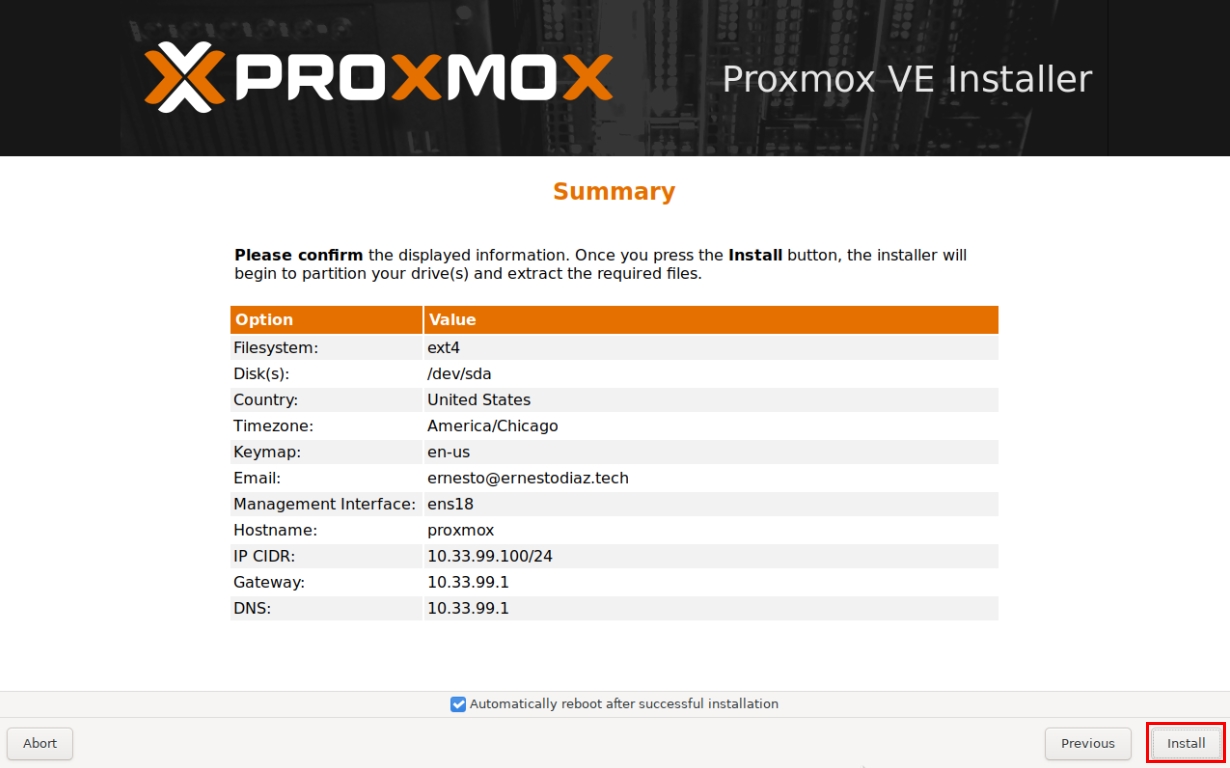
11. Finally, click 'Install'.
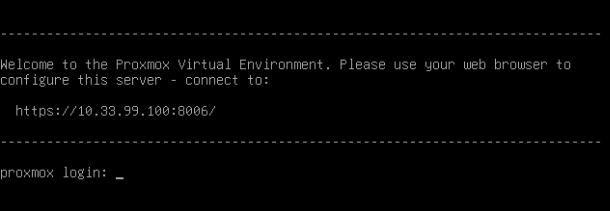
12. After the installation the server will reboot and bring you to the login screen. From here you can access the webUI from a web browser by going to the IP address you set earlier.
Accessing Web Interface
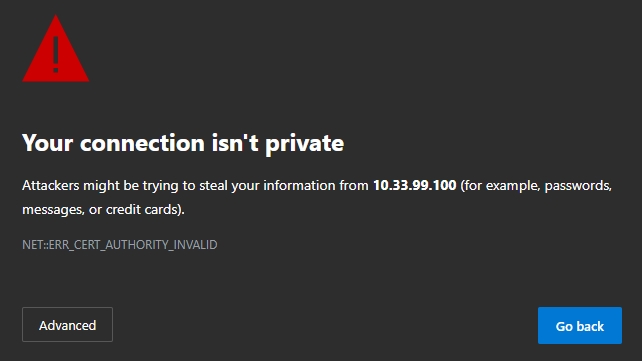
13. You'll be greeted with this screen until you setup an SSL certificate. I will eventually make a How-To on 1 way to do that.
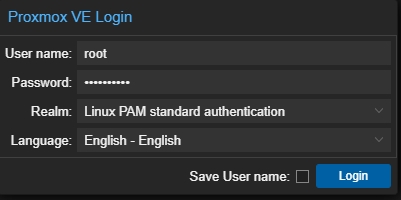
14. Lastly, login with the user name 'root', and with the password you created during the installation.
Increase Local Storage
15. Proxmox will use the drive you installed the OS onto for uploading ISO and templates. But you'll need to increase it since it won't have all your hard drive's capacity. The rest of the hard drive's capacity will be on 'local-lvm' but we can delete it.
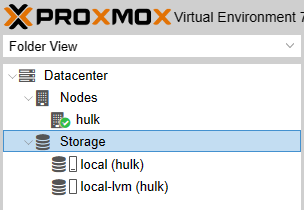
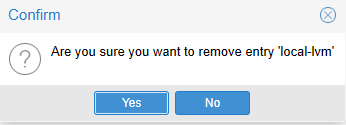
16. So I clicked on Datacenter > Storage > local-lvm and clicked 'Remove'.
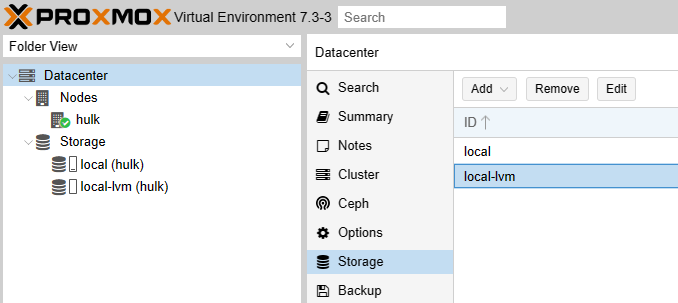
17. Clicked 'Yes'.
18. Then I went to Datacenter > Nodes > hulk (or whatever you named your server) > Shell, so I can run some commands to increase storage.
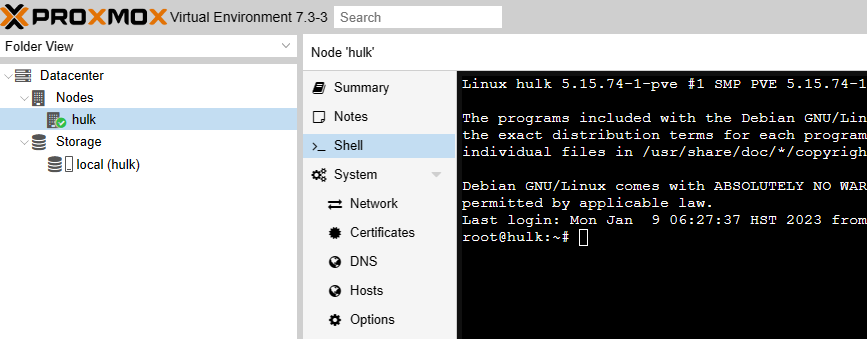
19. First command is removing the LVM volume we deleted from the webUI.
lvremove /dev/pve/data
20. Now to resize the 'local' volume with the space we have freed up.
lvresize -l +100%FREE /dev/pve/root
21. Now to resize the filesystem to fill the entire space available on the logical volume.
resize2fs /dev/mapper/pve-root
Add Storage Drives
22. I have 2 more hard drives in my server, but I'm not able to use them until I run some commands.
You can go to Datacenter > Nodes> hulk (your server's name) > Disks to see the names (sdb, sdc).
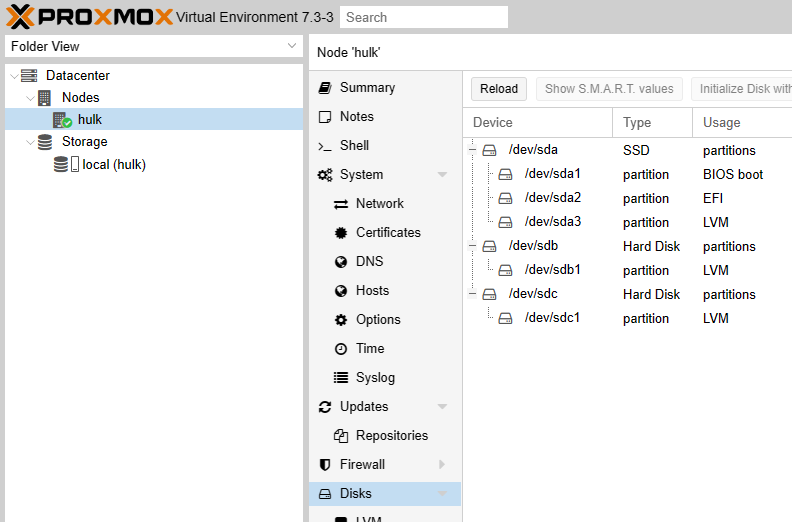
23. You'll run the following for each disk. This first one will make a new partition.
					fdisk /dev/sdb
n
w
24. Then create the partition and give it a name.
					pvcreate /dev/sdb1
vgcreate Savage /dev/sdb1
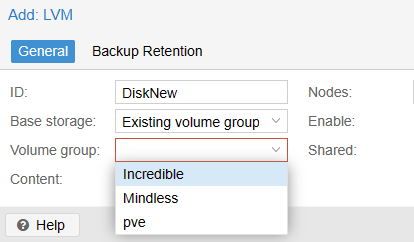
25. Then go back to Datacenter > Storage and clicked on 'Add' and selected LVM.
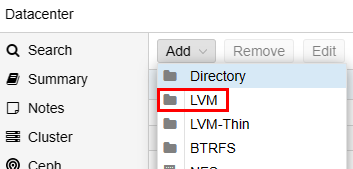
26. I then gave it the same name so it's not confusing, and selected it from the drop-down menu.
